Let’s look at how to price your knitting, so you actually get paid what your product is worth.
Most new sellers set a price by looking at the yarn receipt and adding a bit on top. A hat that used R130 of yarn goes up at R200, and the knitter who spent seven hours on it earns R70 for the week. When you are learning how to price knitted items for sale, the aim is to turn your time into a real number and build the price up from there.
This method has six steps: the hourly wage you want, materials, honest timing, overhead, selling fees, and a final check against your market. The numbers below are examples in rand. Swap in your own as you go.
Why charging only for the yarn leaves you working for free
Yarn is the cost you can see, so it feels like the whole cost. The hours are invisible because nobody hands you a bill for them. But if you charge yarn plus a small markup, your wage is whatever is left, and with hand knitting that is usually very little.
A simple example: a hat takes 7 hours and R150 of materials. Sell it for R300 and you keep R150 for 7 hours of work, about R21 an hour. Add selling fees and the cost of needles wearing out, and the real figure is lower.
Pricing from your hours first avoids this. Each cost goes into the price before you decide whether the final number is workable.
Work out what an hour of your knitting is worth to you
Start with a wage, because every other step depends on it. Pick a figure you could defend for any other job that needs skill, patience and finished results. Handmade knitwear is skilled work.
A few ways to land on a number:
- Take the hourly rate you earn or earned at a job and use it as your floor.
- Work backwards from a monthly goal: divide the amount you want to earn by the hours you realistically have to knit.
- Pick a stretch figure and plan to grow into it if your current figure feels like a leap.
For the worked example later, I will use R80 an hour. That is an illustration. Your own number can be higher or lower, and it can change as your speed and your skills improve.
If your first instinct is a number so low it embarrasses you, write it down anyway and look at it for a day. Many knitters set their wage at what feels polite, not at what the work is worth.
Count every material cost, including the leftovers and small extras
Materials are more than the yarn in the finished item. Go through a project and list everything that was used or bought for it.
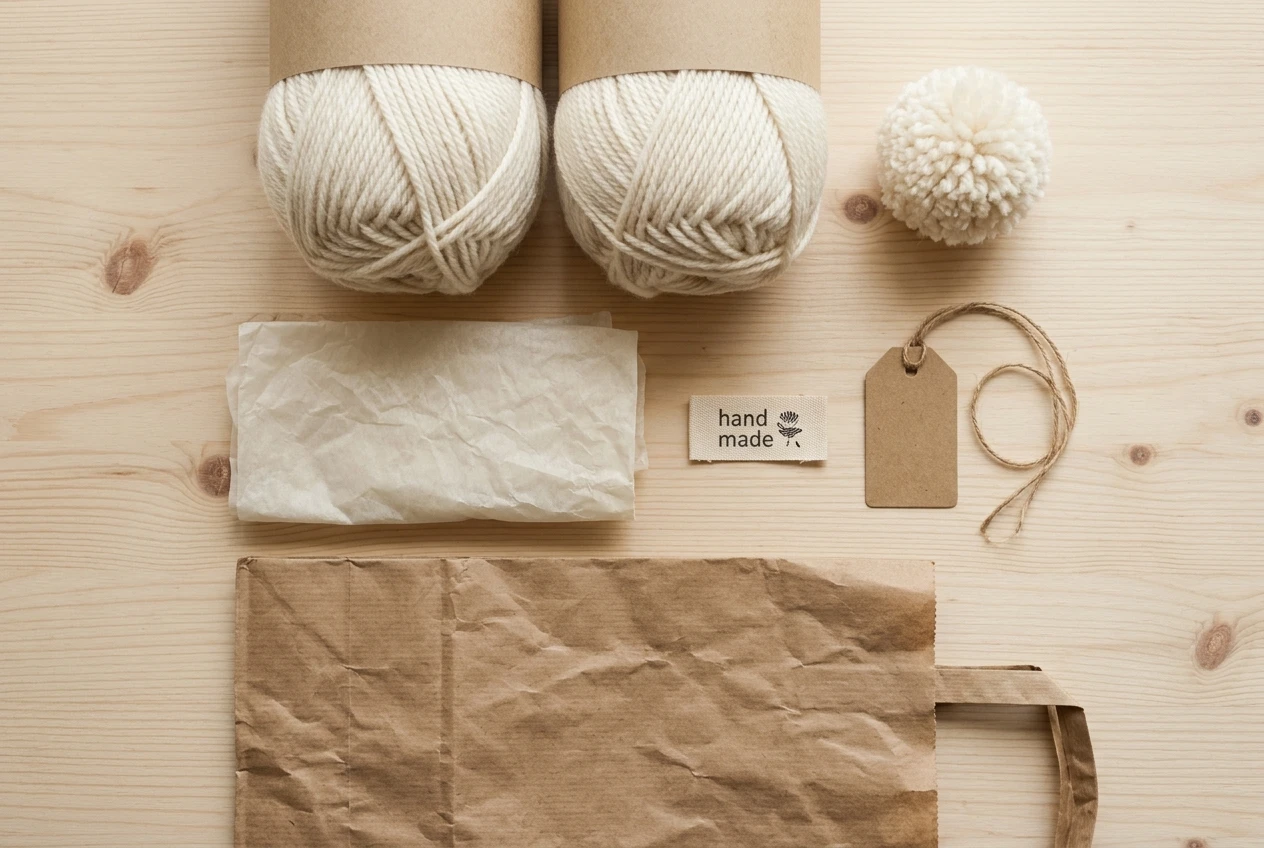
- Yarn. Count the whole skein if what is left over is too little to use again. If the leftover goes into your next project, count only the portion you used.
- Notions and fastenings. Buttons, zips, toggles, stitch markers you lost, a pom-pom, elastic, lining fabric.
- Labels and tags. A woven label, a hang tag, care instructions.
- Packaging. A bag, tissue paper, a thank-you card, a box for posting.
- Patterns. If you paid for the pattern and plan to make the item many times, spread its cost across the number of items you expect to make.
Small extras look trivial one at a time, but across 30 sold items they are a real amount. Keep a running list of what each item uses so you are not guessing at the end.
If your yarn price changes between purchases, use the current replacement price, not what you paid for last season’s stock. You are pricing so that you can afford to make the next one.
Time the project honestly: knitting, swatching, finishing and packing
Time is where most underpricing happens, because knitters tend to count only the hours with needles in hand. A finished item has more stages than that.
Track these separately:
- Swatching and planning. Gauge swatches, yarn choice, any sizing adjustments.
- Knitting. The main work. Use a timer or a notes app, not memory, because memory is generous.
- Finishing. Weaving in ends, seaming, blocking, attaching buttons or a pom-pom. If you want your finishing to look professional, the piece on essential tools for handmade knitwear covers equipment that makes this stage faster and neater.
- Photographing and listing. Setting up the shot, editing, writing the description.
- Packing. Wrapping, labelling, going to the post office or arranging a handover.
Time a couple of projects start to finish. For a repeatable item like a hat, one timed project gives you a reliable average. For a one-off piece, time it as you go and keep the record for the next similar piece.
If you are a slower knitter today, use your real hours anyway, and see the section on high prices below for ways to handle it. Underreporting your time this month means the price is wrong for as long as you use it.
Add overhead and selling fees before you add profit
Overhead is the cost of being in business that does not belong to any single item. It includes needles and tools that wear out, a share of electricity and internet, a market table fee, business cards, a sewing machine or blocking mats, and the time you spend on messages and admin.
You do not need to track each one per item. A simple approach is to add a percentage to cover them. In the example below I use 5% of labour plus materials. Look at your actual yearly spending on these things, divide by the number of items you expect to sell, and see whether 5% is too low or too high for you.
Then add a small margin for profit and mistakes. Your wage is already your pay, so this margin is money for the business: replacing equipment, buying yarn in bulk, absorbing a dropped stitch you cannot fix, or a price rise from your supplier. A margin of around 5% to 10% is a reasonable starting point to test against your own figures.
Selling fees come last, and they need one specific bit of arithmetic. Marketplaces, payment processors and card readers take a percentage of the sale price, not of your costs. If you add 10% to your subtotal, the fee is calculated on the larger final price and you end up slightly short. Divide your subtotal by (1 minus the fee rate) instead. The worked example shows this. Check the current fees on any platform or payment provider you use, because they differ and change.
Put it together: one worked example you can copy with your own numbers
The item is an adult hat in worsted-weight yarn. All numbers are placeholders in rand.
Step 1: Time
Stage | Hours |
|---|---|
Swatching and planning | 0.5 |
Knitting | 5.0 |
Finishing (ends, blocking, pom-pom) | 0.75 |
Photographing and listing | 0.5 |
Packing | 0.25 |
Total | 7.0 |
Step 2: Labour. 7 hours × R80 = R560
Step 3: Materials
Item | Cost |
|---|---|
Yarn (2 skeins at R65, leftover too small to reuse) | R130 |
Pom-pom base and thread | R3 |
Woven label | R5 |
Packaging (bag, tissue, tag) | R12 |
Total | R150 |
Step 4: Build the subtotal
- Labour plus materials: R560 + R150 = R710
- Overhead at 5%: R710 × 0.05 = R35.50, rounded to R35. Running total: R745
- Buffer and profit margin at 5%: R745 × 0.05 = R37.25, rounded to R37. Running total: R782
Step 5: Add selling fees. Assume a total of 10% in marketplace and payment fees.
R782 ÷ (1 − 0.10) = R782 ÷ 0.90 = R868.89
Round to R870.
To check it: 10% of R870 is R87, and R870 minus R87 leaves R783, which covers your R782. Every cost and your wage are paid, and the sale still leaves you ahead.
If you sell in person with no fees, skip the last step and the price is R782, rounded to R785. Selling in person and online can have different prices, or you can use the higher one for both so the price stays consistent.
To use the method for your own item, copy the tables, replace each number with your own, and follow the same steps in the same order.
When the price feels too high: choosing items, markets and buyers that suit it
R870 for a hat will make some buyers hesitate. That reaction is useful information, and it does not mean the calculation is wrong. Before you lower the price, check whether the mismatch comes from the item, the place you sell, or the people you are showing it to.
Change the item. Some items return more per hour than others. If the hat takes 7 hours and a smaller item takes 2 with the same yarn quality, the small item can sit at a price more buyers will pay without cutting your wage. Chunkier yarn and larger needles reduce hours too. Compare the price per item and the hours per item, and favour the ones where the price looks easy.

Change the market. A table at a crowded general market, where shoppers compare your hat with a factory-made one, is a hard place for a premium price. Craft fairs, commissioned orders, gift-focused markets and online shops that attract people who already look for handmade tend to work better. Choose places where buyers expect to pay for the maker’s time.
Change how the item is shown. Buyers pay more when they can see the quality: close-up stitch detail, a clear photo on a person, a short note on the yarn and the finishing. The guide to photographing handmade items is useful for this.
Change the speed. If your hours are high because you are still building speed, that will improve with practice. Meanwhile, you can price for a more experienced knitter’s time and test whether the market accepts it, or price lower on purpose and treat the difference as a known trade-off.
A discount should be a decision with a number attached. If you drop the hat to R600, you now earn less than R80 an hour, and you can say exactly how much less. Some sellers accept that for a first few sales, for a gift, or for a pattern they are still learning. Others keep their price and sell fewer pieces to the right buyers. Both are legitimate. The point is to choose it knowingly.
Keep a simple price sheet and review it every few months
A price sheet keeps you from re-deriving everything for every order, and from quoting a different price to different customers by accident. One page or one spreadsheet is enough.
For each item, record:
- The item name and size
- Hours, split by stage
- Material cost
- Overhead and margin percentages used
- Fee rate for each place you sell
- The final price, and the date you set it
Review the sheet every three months, and any time your yarn supplier changes their prices, a platform changes its fees, or you notice you are knitting a pattern faster than you did. Time one item again at each review, because your hours will drop as you repeat a pattern, and a lower hour count can mean a lower price or a higher hourly wage at the same price.
If you want more ideas for what to make and where to sell it, the knitting side hustle ideas post covers options for different kinds of knitters.
Pick one item you have already made, run it through the formula, and write down the price you get. Then read How To Photograph Handmade Items so the listing shows why it is worth that price.
So now you have a better idea on how to price your knitting so that you get actually get to make a profit for the hours that you have put in.