Let’s look at how to photograph handmade items because photographing handmade items isn’t just about capturing their appearance; it’s about conveying their story and unique charm. When you know what makes your creation special, you can highlight those attributes in your photos.
This is especially important if you want to sell your handmade items online.
How To Photograph Handmade Items
Selecting the right background is key to showcasing your product effectively. Think about colors and textures that complement your item without overwhelming it. Sometimes a simple white background works, while other times you might need a rustic wooden table to add warmth.
Props can be a game-changer. They shouldn’t steal the show but should help tell your product’s story. If you’ve got handmade ceramics, maybe some flour and an egg whisk hint at their culinary use. Just keep it relevant.
Lighting can either make or break your photos. Natural light is your best friend for capturing true colors and details. Observe how the light moves in your space throughout the day to find the perfect time for shooting your items.
Mastering Camera Techniques
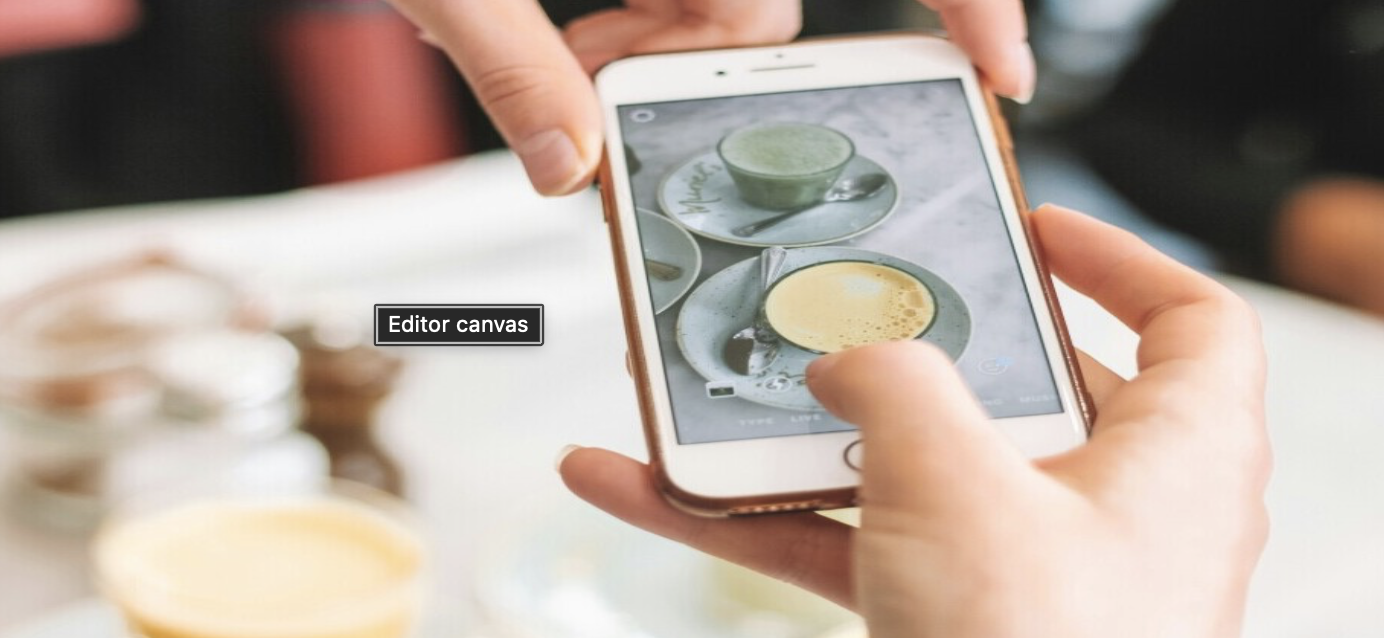
The good news? You don’t need fancy gear to get awesome photos of your handmade items. Your smartphone is a fantastic starting tool. Most of them today come with high-quality cameras that are more than capable if you know how to use them.
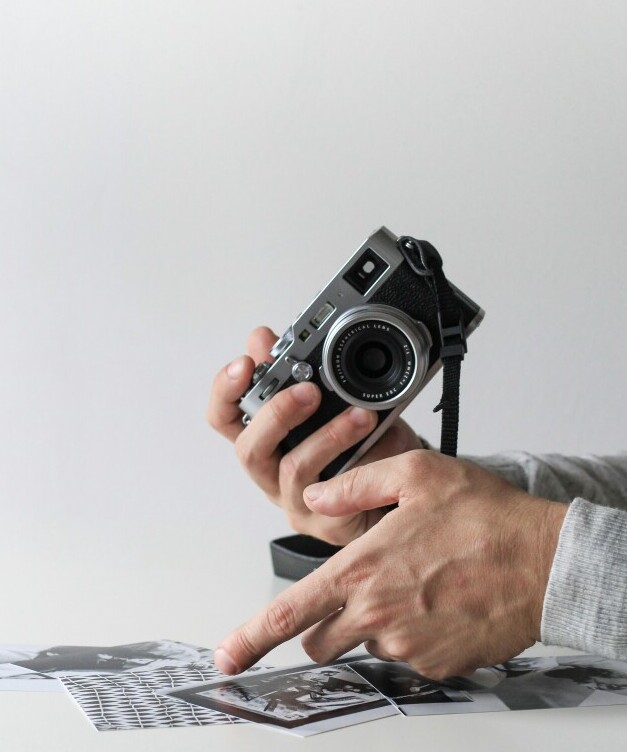
When you’re ready to step up, consider a DSLR or mirrorless camera. They give you greater control over settings like aperture, shutter speed, and ISO, which can really help in tricky lighting conditions.
Focus on keeping your images sharp and clear. Use a tripod if you have jittery hands or are working with low light. A stable camera can make a massive difference in your photo clarity.
Composition is where your creativity can shine. Play with the rule of thirds by placing your product off-center for dynamic shots. Leading lines or natural frames like windows or shelves can guide viewers’ eyes to your item.
Finally, mess around with the depth of field. A blurred background (bokeh) makes your handmade item pop while keeping distractions to a minimum. It’s like creating an instant spotlight on your creation.
Editing and Presentation
So you’ve got the basics down and a bunch of raw photos in hand. This is where the magic of editing comes in. It’s your chance to really make those images pop without going overboard. Apps like Lightroom or even basic phone editing tools can do wonders for adjusting brightness, contrast, and color balance.
Keep authenticity in mind. You want your photos to reflect what your items actually look like to avoid disappointing customers. Over-editing can sometimes lead to unrealistic expectations, which isn’t great for your brand’s trust.
Think about crafting a consistent style across all your images. Whether it’s a certain lighting tone, color palette, or a particular way of arranging items, consistency can help build a recognizable brand aesthetic. A cohesive look makes your shop more professional and inviting.
Once your photos are ready, consider how you’ll display them online. Platforms like Etsy or Instagram have different formats, so tailor your images to fit. Create a visually appealing gallery by mixing different angles, close-ups, and lifestyle shots to give potential buyers a full sense of your item’s beauty and use.
I trust that this has given you some ideas on how to photograph handmade items.
It is definitely important to make an impressive photo of your product to encourage your audience to buy.
Aside from a clear, amazing photo, you also need to make an inspiring description of your product, what is it for, and how to take care of them for longer use.
Proper lighting is most important in taking the photos because shadows ruin the photo if not done properly.
Sometimes, if lighting is not good, the exact color of the product will not show as well.
Marita
Hi Marita, Thanks for the great idea of providing care instructions for your product.
I have read your article. Curious on what and how you approach lighting. I noted that natural lighting works best, but I was going to ask if you use natural lights, or should an investment be made into some sort of specialized lighting for photos? This has always puzzled me. Which is best. I have seen so many lighting options available for sale online.
Thanks.
I personally prefer natural lighting and I simply use my iPhone camera. I very seldom use the flash.