Here are some free ideas scrapbooking lovers will enjoy, especially if you like to store all your mementos and don’t quite know how.
If you do a lot of layouts, and you are like me and like to do ‘lumpy’ layouts, it is imperative that you store your scrapbooking layouts correctly. Here are some tips for storing your layouts in albums.
Below are more ideas you can use to store those bulky momentos.
Ideas Scrapbooking Those Bulky Layouts
If you do a lot of bulky layouts, you are going to need a high-quality album that is made especially for scrapbooking layouts. The sleeves must be big enough to be able to store your layouts as flatly as possible, and your finished layout should be able to fit into your sleeve with ease, no matter how bulky it is.
Don’t overload your album with too many pages, or your layouts will be squashed.

Be sure to use some sheet protectors between the bulky layouts, as they’ll keep smudges and fingerprints off of your photos. They will also protect the page opposite your ‘lumpy’ layout.
Store your albums standing upright rather than stacked on top of each other, and in this way, your layouts won’t go flat.
A good example of a bulky layout would possibly be a birthday party layout.
The reason mine are so thick is because I like to keep all the card. I either slip the cards into a large envelope that I make part of the layout or slide them in behind the layout, so years later they can be pulled out and reread.
Ideas Scrapbooking Those Treasured Cards and Letters
Most of us have treasured cards and letters that we have stashed away in boxes somewhere. If they are very personal, try storing them in a pretty memory box or tin like the one on the left.
You can also make an envelope album in the form of a cute mini album for all your keepsakes.
How To Make An Envelope Album
This is what you will need to make an envelope album:
patterned paper
thin chipboard
fancy punches
flat magnets
A3 patterned papers
ribbon
hole punch envelopes
envelopes
wire and a bind it machine (optional)
The idea here is to use the envelopes for pages and you can either use standard sized ones or make your own to individually fit each separate keepsake.
If the envelopes are different sizes, try layering them from smallest to largest and you can also tone in some different colors.
If you don’t want to make your own envelopes or you want pretty ones, you can purchase lovely envelopes online, like the ones on the right.
You can start by decorating each envelope with either ribbon, embellishments, patterned paper or all of the above.
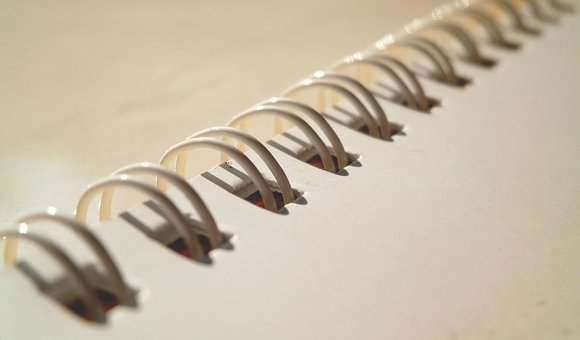
A spiral binder is a useful thing to have for this project, but if you don’t bind too often, rather than the expense, just take it to a copy shop and ask them to bind it for you.
Cut the thin chipboard to size to be the back and front of your mini album. You can also decorate the chipboard by either painting it or putting patterned paper over it. A title made of chipboard or thick cardboard is a great idea for the cover.
You can also decorate the chipboard by either painting it or putting patterned paper over it. A title made of chipboard or thick cardboard is a great idea for the cover.
A title made of chipboard or thick cardboard is a great idea for the cover.
If you want your envelopes to close securely, try this idea scrapbooking using flat magnets like these on the right.
Punch out some plain or scalloped circles. In half of them punch out little holes all around the edges.
Mount the circles on top of each other with a base color showing up through the circles.
Adhere these circles to your envelope flaps.
Attach a magnet to the back of each circle and another magnet in the corresponding position inside the envelopes to match up. In this way, your envelope will stay closed, until being opened for viewing.
If you want to use things like keys or jewelry on your scrapbooking layouts, be careful not to place these items too close to your photographs, or they could mark them in time.
A good idea is to place items like this in small ziplock bags, as they are see-through and at the same time protect your layouts.
I hope you have enjoyed this post on free ideas scrapbooking enthusiasts will love. Please feel free to add in your own ideas below.


