If you want to know how to mat photographs or why you even need to mat photographs, then you have come to the right place.
This post may have affiliate links which means that the owner of this website will get commissions on qualifying purchases, at no extra cost to the buyer.
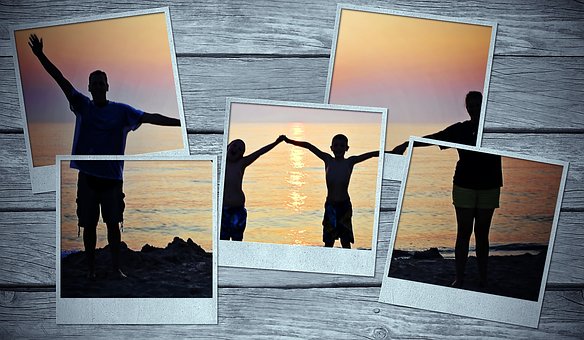
Just as a painting is enhanced by the right frame, your photographs will shine and be enhanced if given the same treatment. Matting your photographs can change the whole look of the photo, and give your scrapbooking layout some depth.
How To Mat Photographs for Scrapbooking
The matting of photographs is the simplest and most basic of scrapbooking techniques, and if you go to scrapbooking classes, this is probably the first thing that you will learn. Not only is matting simple, but also effective.
When you mat your photographs, you put your image onto a piece of thin card or cardstock that is cut slightly larger than the photograph. The matting technique will stop your image from being lost against the background of your layout, especially if the background is busy. The width of the border is totally up to you. You can also make your photograph stand out by using more than one layer of matting in contrasting colors.
When choosing the colors to use for your mat, try and take some of the main colors out of the photograph to enhance the image. Also, make sure that your chosen colors match up to the background of your layout.
I tend to be rather lazy when it comes to matting and take the easy and quickest route. The traditional method of matting your photographs includes measuring your photo, and then measuring out the same on your cardstock, then adding anything from a couple of millimeters to centimeters to the border, before cutting it out.
I cheat by simply sticking the photograph onto my choice of cardstock using double-sided tape and then use my cutter to cut around it, ensuring that the ruler on the cutter measures the same distance all around the photograph. If you don’t have a cutter, you could measure out and draw the lines in pencil and then cut it out by hand.
Another great idea on how to mat photographs is to tear out your frames by hand. Ink the edges and this makes an interesting looking frame for your photographs. Inking them with black will make the edges look burnt.
Multi matting is just an extension of the above technique. Colored card stock must be carefully selected to compliment the colors on the photograph. To add interest, the borders do not have to be the same width, and you can experiment with your cut out mats before sticking them down. Another scrapbooking idea would be to stick down the layers of the mat skew on top of each other.
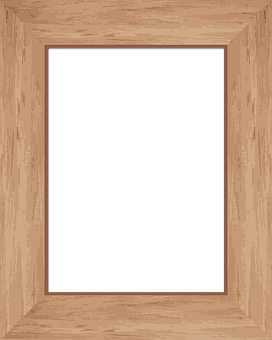
An alternative matting technique would be window matting. This is where the mat has a window cut out of it and then placed on top of the photograph, just like a picture would look if it was framed.
You can cut the window out by hand, or with a punch, and make sure that the photograph is bigger than the cut out window, so that the edges of the image are covered when the mat is in place.
If you are cutting out your window by hand, make sure to use a sharp craft knife against a steel ruler, or your opening will look rough and spoil the overall look of the frame. Try not to let the knife slip too far into the corners, or you will have over cuts in corners of your window.
For more special effects, try using a corner punch. There are all types available on the market today from round corners to fancy corners. To finish off your matting it always looks good to chalk or ink around the edges of your frame.
Please feel free to add any other ideas you may have on how to mat photographs below.