Knitting cable stitch is not one of my favorite stitches to knit, as I find it quite awkward and slow, but the final result often ends up being well worth the effort.
This post does contain affiliate links.
Cable stitch knitting is done by taking the required number of stitches off of the needle and putting them on a holding needle like the ones below, then knitting a few stitches then placing the stitches from the holding needle back onto the needle by either crossing them at the back of the knitting or at the front to give a twisted effect to your work.
9 Pieces Cable Stitch Holders, Mixed Color Aluminum Cable Needles Stitch Holders, Safety Pin Brooch Weaving Needle Sweater Knitting Tool, Bent Tapestry Needles for Yarn Sewing Knitting
- This set has 9 Pieces of mixed color aluminum cable needles: the crochet toolset includes cable knitting needles, crooked needles, and stitch holders, different types of knitting tools, very convenient to use, particularly suitable for beginners.
- Multipurpose: the cable knitting holder not only keeps your stitches out of the way, but the shape keeps them from falling off the needle, the size variety will be helpful for many projects; The knitting stitch holders for knitting or crochet have a very secure fastener on the end.

This video explains the basic cable stitch and how to do it.
Standard or rope cables are the most basic cables to knit.
They generally cross stitches predictably up a single column of stitches. You can make a rope cable over almost any even number of stitches from two to twelve — or more.
- If you want to make a cable that looks like it’s twisting to the left, you hold your suspended stitches in front of your work while you knit from the Left-Hand needle. This abbreviated in a pattern would be Cr3L if you were twisting three stitches.
- If you want to make a cable that twists to the right, hold the suspended stitches at the back of the knitting. This would be abbreviated as Cr3R if you were twisting 3 stitches.
For all the knitting abbreviations, you can visit this page.
Luckily you don’t need to do this on every row of your knitting. The row where you cross the stitches over is called the turning row.
Instructions for a 6-stitch left-twisting cable usually reads something like this: Sl 3 sts to cn (cable needle), hold in front, k3, k3 from cn. Instructions for that same cable, but twisting to the right, read like this: Sl 3 sts to cn, hold in back, k3, k3 from cn. 
You may also see abbreviations like C3F and C3B. The C before the number tells you that these stitches are cable stitches. The number tells you how many stitches are involved with this particular maneuver. The F or B indicates whether you should suspend the stitches to the front or the back of your work.
You can make any kind of cable by holding a number of stitches on a cable needle (cn) while you knit that same number of stitches from the LH needle.
Then you knit the suspended stitches either by returning them to the LH needle and knitting them or by knitting them straight from the cable needle. This process of knitting stitches out of order enables you to cross stitches, creating cables.
So whether you’re making simple or intricate cables, all you’re doing, in the end, is crossing stitches over each other.
Knitting Cable Lattice
Here is a more intricate pattern for you to try.
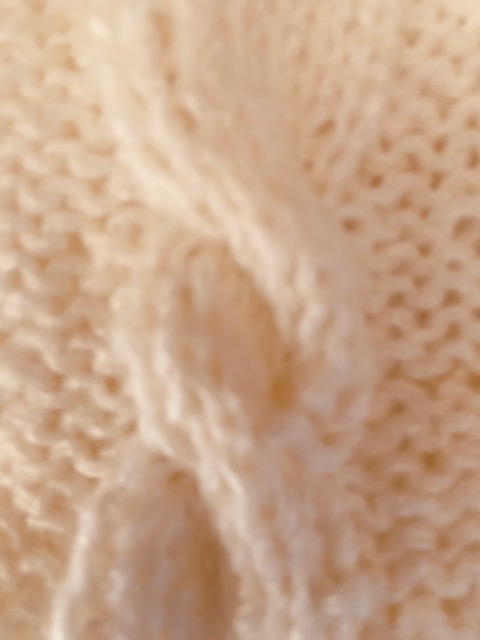
It is a very attractive lattice cable stitch. This is the sample I knitted, and believe me you need to keep your wits about you when knitting this pattern. I did a small square to try it out, but I think it would take some concentration if applying it to an entire garment.
Give it a go first to see how you enjoy doing it.
I cast on 26 stitches to do this swatch.

Row 1 (rs): K3, p8, k4, p8, k3.
Row 2: P3, k8, p4, k8, p3.
Rows 3 to 6: Rep rows 1 and 2 twice.
Row 7: K3, p8, C4B, p8, k3.
Row 8: Rep row 2.
Row 9: k1, (Cr3L, p6, Cr3R) twice, k1.
Row 10: P1 (k1, p2, k6, p2, k1) twice, p1.
Row 11: k1 (p1, Cr3L, p4, Cr3R, p1) twice, K1.
Row 12: P1, k2, p2, (k4, p2) 3 times, k2, p1.
Row 13: K1 (p2, Cr3L, p2, Cr3R, p2) twice, k1.
Row 14: P1, (k3, p2, k2, p2, k3) twice, p1.
Row 15: K1, (p3, Cr3L, Cr3R, p3) twice, k1.
Row 16: P1, (k4, p4, k4) twice, p1.
Row 17: K1 (p4, C4B, p4) twice, k1.
Row 18: Rep row 16.
Row 19: K1 (p4, k4, p4) twice, k1.
Row 20 and 21: Rep rows 16 and 17.
Row 22: Rep row 16.
Row 23: K1, (p3, Cr3R, Cr3L, p3) twice, k1.
Row 24: Rep row 14.
Row 25: K1, (p2, Cr3R, p2, Cr3L, p2) twice, k1.
Row 26: Rep row 12.
Row 27: K1, (p1, Cr3R, p4, Cr3L, p1) twice, k1
Row 28: Rep row 10.
Row 29: K1 (Cr3R, p6, Cr3L) twice, k1.
Row 30: Rep row 2.
Row 31: Rep row 7.
Row 32: Rep row 2.
Rows 33 and 34: Rep rows 1 and 2.
Row 35: Rep row 1.
If you are not sure what Cr3R and Cr3L are, take a look at this video which will explain it very clearly.
Some Great Cable Pattern Books You Can Purchase Online
Here is a selection of books you can purchase online at great prices if you want to explore the art of knitting cable stitch and then take your new skills to the next level. Simply click on the picture to find out more about the book.


