What Is Cable Stitch Knitting
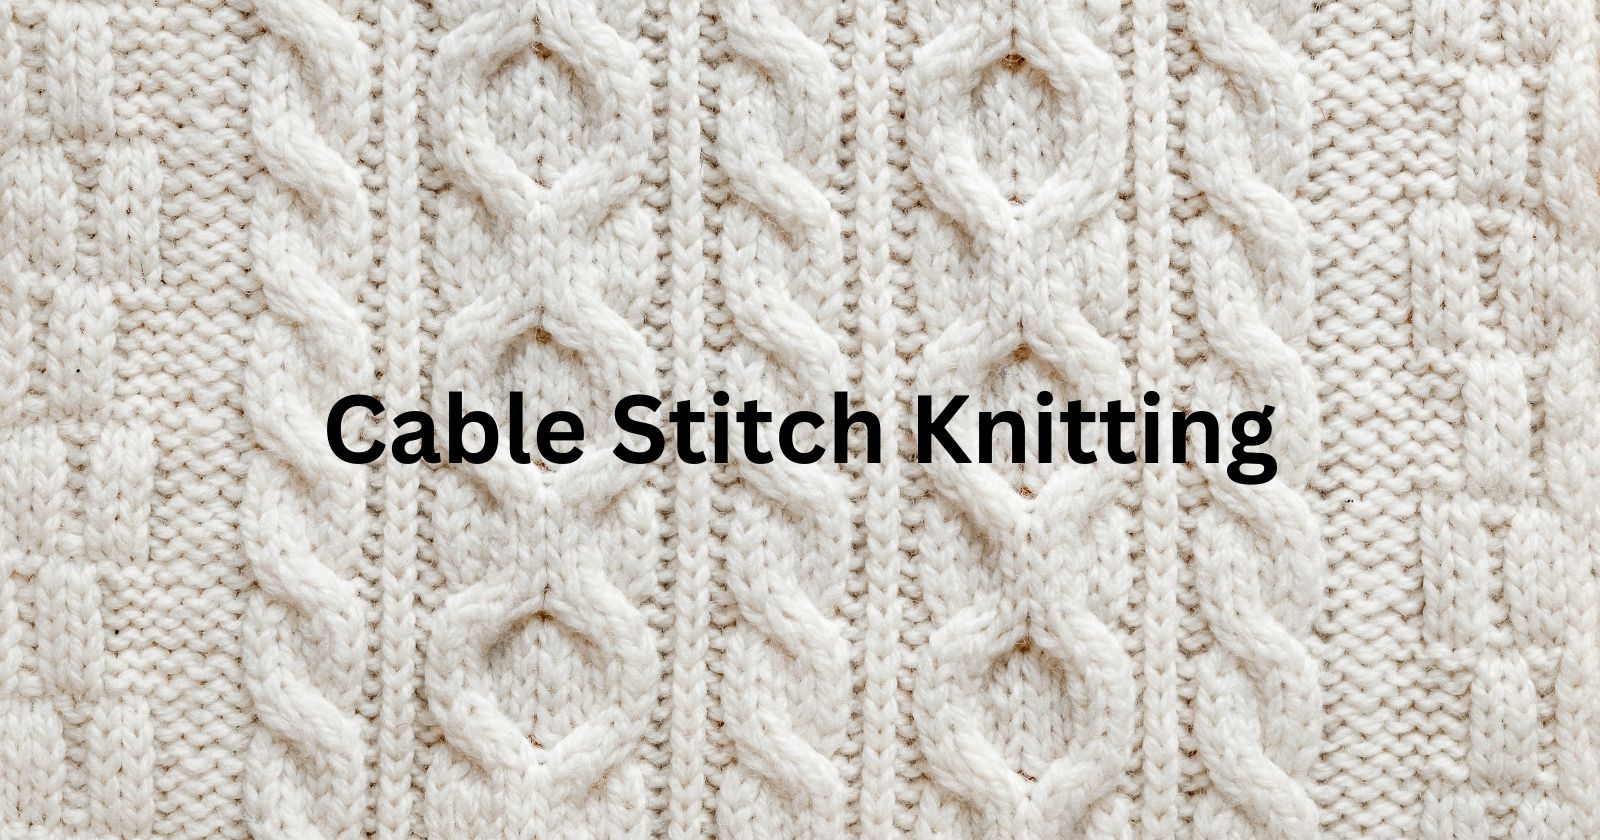
 Cable stitch knitting resembles a plait (in more complex patterns) or can look like a twisted rope. It all depends on the pattern that you decide to use.
The simple technique of cabling (crossing one group of stitches over another) lends itself to many interpretations in knitting. It’s easy to do, you can make all kinds of interesting and imaginative cable patterns. All it takes is a little patience and practice.
This page does contain affiliate links.
Do You Need a Cable Needle?
The pack on the left contains three cable needles in three different sizes and is a really handy buy for any knitters kit. (Click on the pic to find out how to order your own set)
You don’t have to have cable needles to knit cables, but they do make the job a little easier.
To see a video on how to knit cables without the use of a cable needle, click here and scroll down to the bottom of the article about ribbing.
You can make any type of cable you desire, simply by holding the required number of stitches on the cable needle while you knit the same number of stitches from the left needle. You then knit the stitches on the cable needle by returning them to the left-hand needle and knitting them or knitting them straight off of the cable needle.
This process enables you to cross stitches, thus creating cables. The process is the same for whatever type of cables you are knitting.
Basic Cable Stitch Knitting
Rope or standard cables are the most basic cables to knit. The stitches are crossed predictably up a single column of stitches.
- If you want to make a cable that looks like it’s twisting to the left, you hold your suspended stitches in front of your work while you knit from the LH needle. Instructions for this type of cable will read something like this – Sl 3 sts to CN (cable needle), hold in front, k3, k3 from CN.
- If you want to make a cable that twists to the right, hold the suspended stitches at the back of your work. Instructions for this type of cable should read something like this – Sl 3 sts to CN, hold in back, k3, k3 from CN.
You could see abbreviations something like this – C3F and C3B. The C before the number tells you that these stitches are cable stitches. The number tells you how many stitches are involved in this particular maneuver. The F or B indicates whether you should suspend or hold the stitches to the front or to the back of your work.
Luckily you don’t need to cross stitches on every row when you are cable stitch knitting. The row on which the stitches are crossed over each other is called a turning row.
Usually, after doing a turning row you would knit several plain rows in between, depending on the knitting pattern you are following.
When you work cables, you would normally work purl stitches and knit stitches on the same row, much in the same way as you would do ribbing.
Don’t forget to bring your yarn forward before you do a purl stitch and to the back before you do a knit stitch.
 Norah Gaughan’s Knitted Cable Sourcebook: A Breakthrough Guide to Knitting with Cables and Designing Your Own
This guide on the right is for the modern knitter and includes more than 150 new and innovative cable stitch patterns ranging from basic to complex.
The guide also explains how knitters can mix and match their cables in their knitting creations.
Teacher, author, and master knitter Norah Gaughan shares her design principles and offers clear cable-making instruction throughout, always in a conversational, easy-to-understand voice that proceeds naturally, as one cable idea leads to the next.
Master the art of cable knitting, then test your newfound skills with the 15 garment patterns for wraps, sweaters, and accessories.
Remember To Check Your Gauge
Because you are doing a combination of knitting, purling, and crossing stitches within the same row, this will tend to pull your knitting in widthwise. If you knit a plain panel in a stocking stitch, versus the same number of stitches with a cable, you will see the panel will be narrower.
If you do decide to add a cable or two to a plain sweater pattern, be sure to increase enough stitches after you knit your ribbing to maintain the overall width. Although there are no hard and fast rules here, you would be safe to ad 1 or 2 stitches for every 4 stitches you knit on your cable. If you have a ribbing border, you can add these stitches evenly on the last row of ribbing.
Beginning And Ending Your Cable Stitch Knitting
Cables should always begin and end on a row between turnings so that the cable stitches are relaxed and the fabric has a smooth look.
When you’re binding off cables, decrease across the top of the cable by 1 or 2 stitches for every 4 stitches in the cable to prevent the bound-off edge from flaring out. Follow these steps for a neat finish:
1. Bind off the background stitches as they present themselves (knit the knits and purl the purls as you bind off) until you reach the cabled stitches.
2. When you get to the cable stitches, bind off as follows: *k1, bind off, k2tog, bind off, k1, bind off; rep from * to the end of the cable (stockinette) stitches.
3. After binding off the cable stitches, go back to binding off the stitches of the background as they present themselves.


