If you are new to scrapbooking, or simply need some new ideas, here is how to create a themed scrapbook page step by step.
If you have never tried scrapbooking, then you don’t know what you are missing. I was addicted from my first workshop.
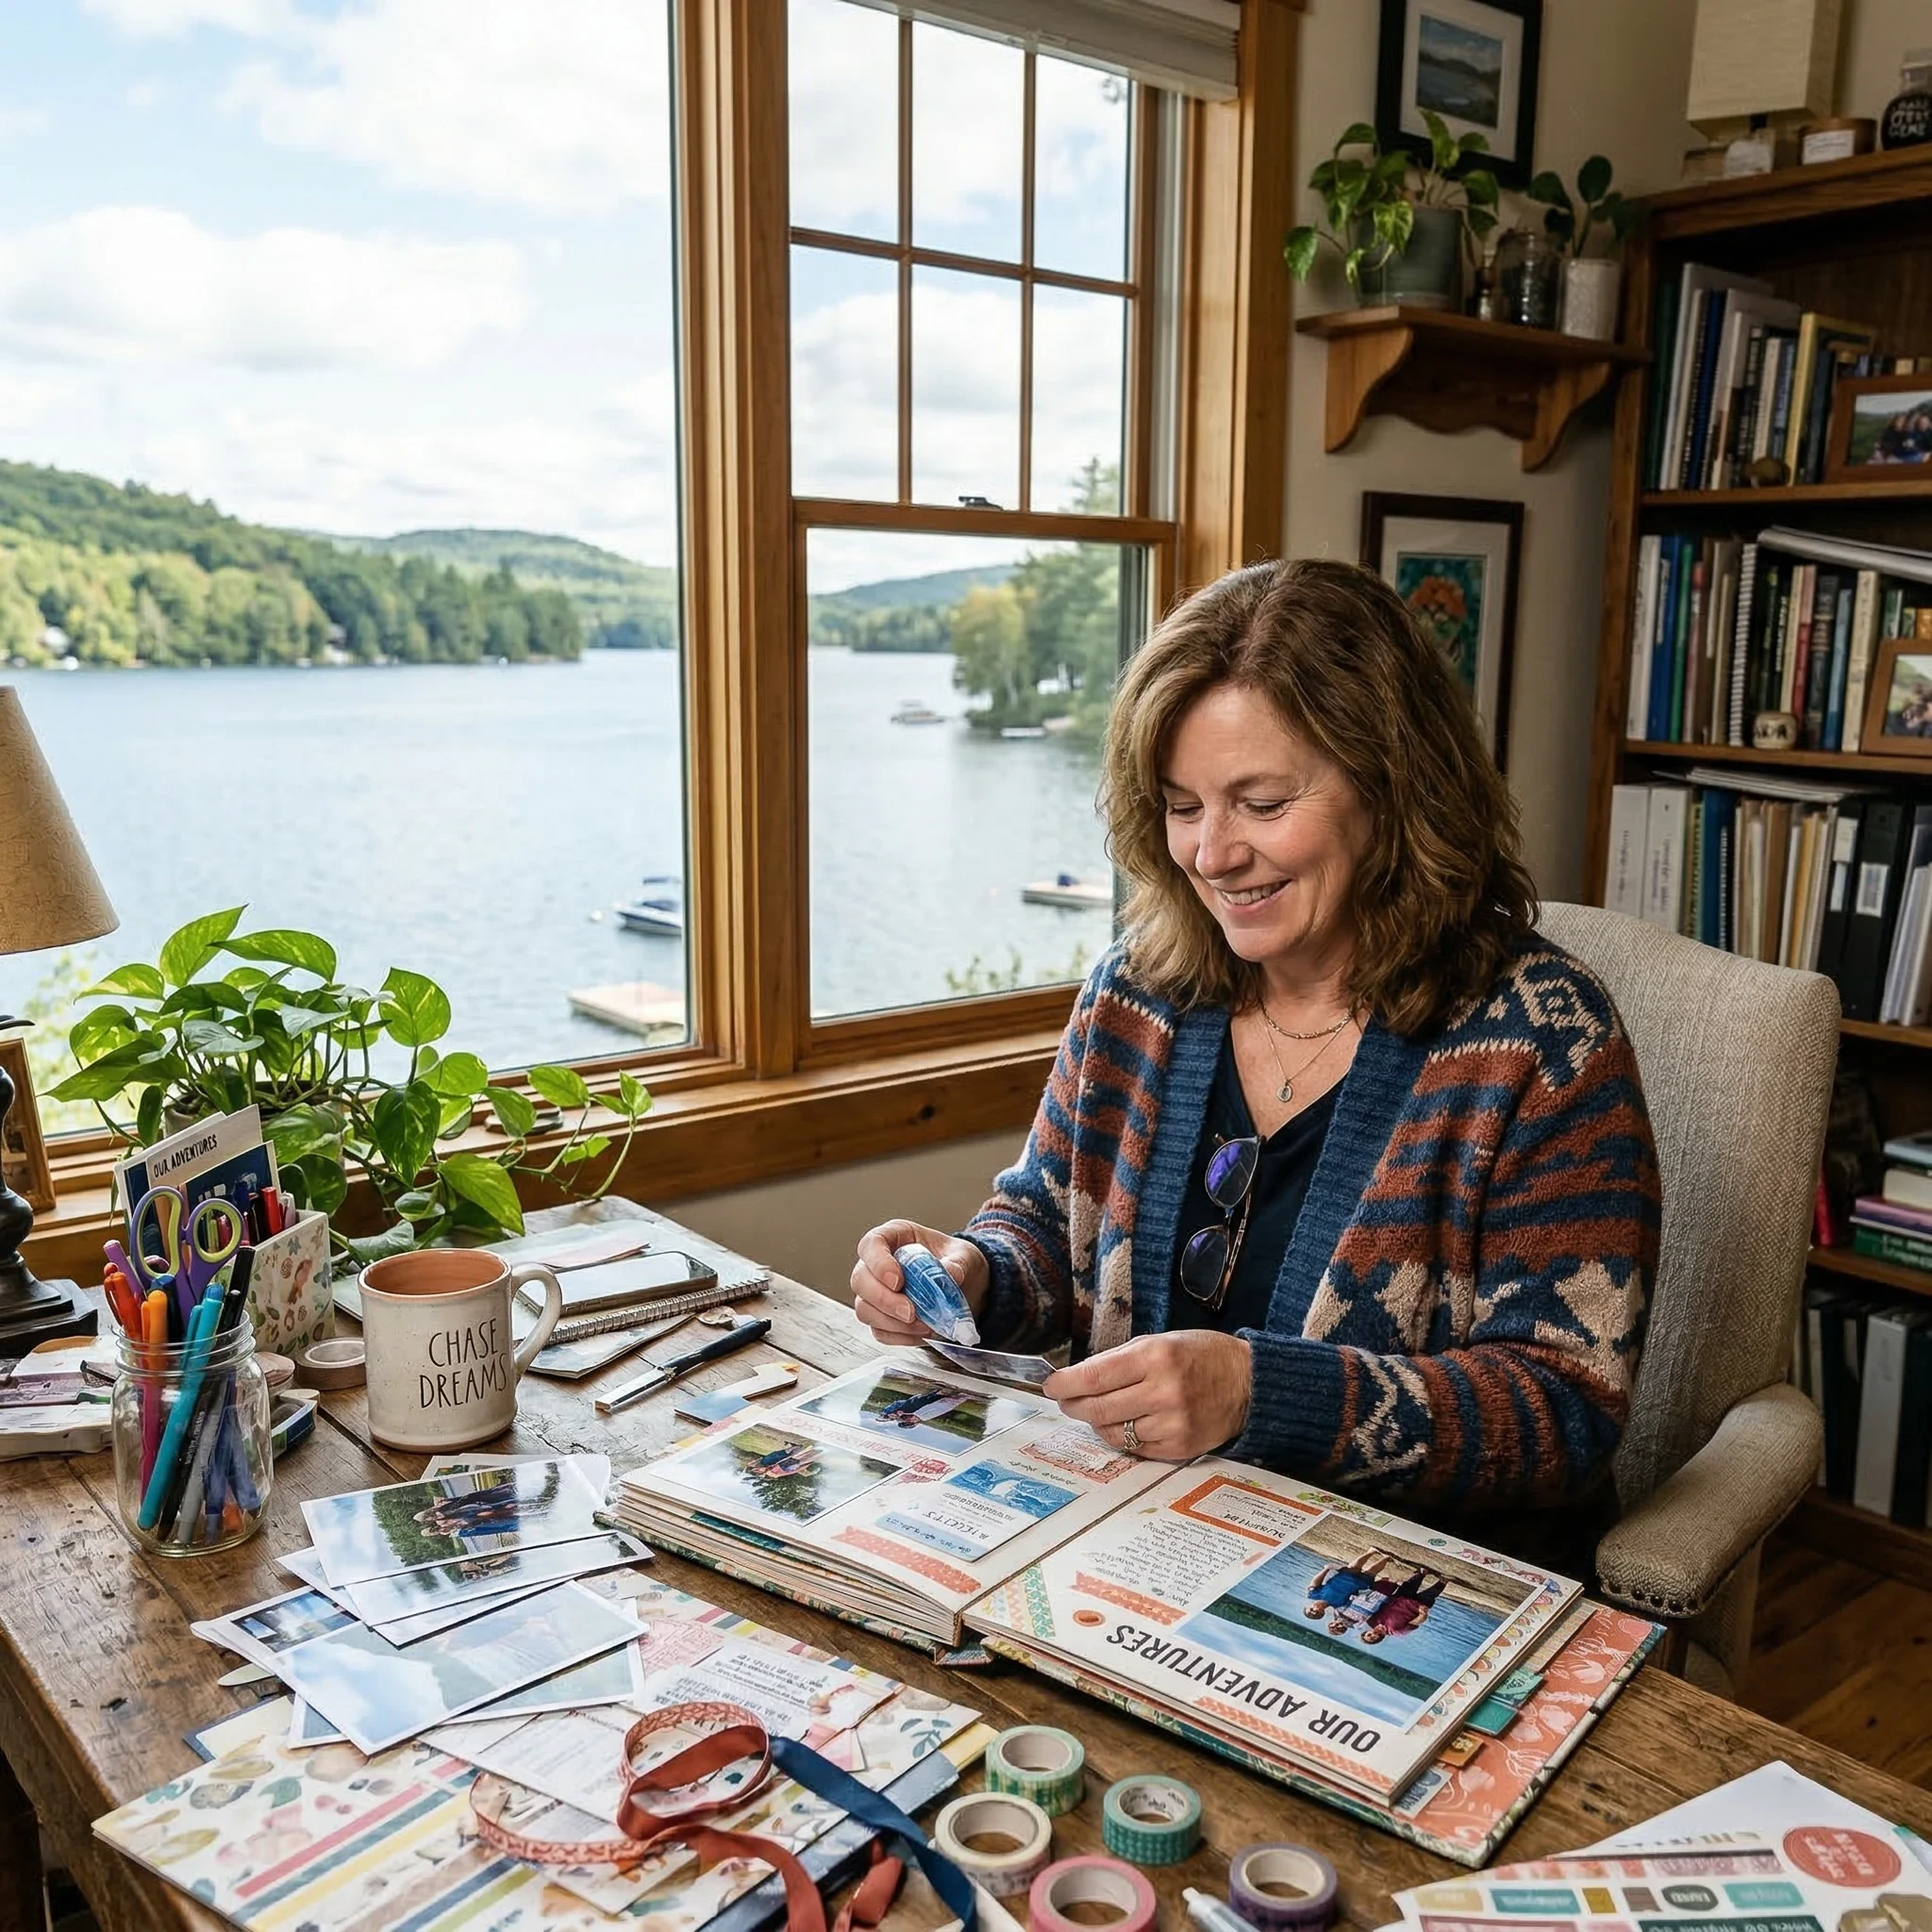
 Creating a themed scrapbook page is a fantastic way to capture memories, play with your creativity, and maybe even relax a little. Whether you’re brand new to scrapbooking or looking to freshen up your style, designing a page around a theme—think travel, holidays, pets, or milestones—can really help bring your story to life.
Over the years, I’ve checked out tons of approaches, and I always come back to a handful of practical steps. Here’s how I build a themed scrapbook page from start to finish, plus tips for both beginners and seasoned crafters.
This post contains affiliate links, which means that the owner of this website will get commissions on qualifying purchases, at no extra cost to the buyer.
How To Create A Themed Scrapbook Page Step By Step
Step 1:
Choose Your Theme and Inspiration
Your first move on how to create a themed scrapbook page is to narrow down your theme. A strong theme gives your page direction, keeps everything cohesive, and actually makes decision-making easier. Here are a few questions to help get ideas flowing:
- What’s the story or memory you want to capture?
- Is there a holiday, trip, or event you want to focus on?
- Do certain colors or patterns remind you of your subject?
- Are there inside jokes or shared traditions you want to highlight?
For inspiration, I browse sites like Pinterest, look through craft magazines, or flip back through old scrapbook pages that turned out well. A mood board, either digital or physical, is pretty handy for collecting ideas.
Step 2:
Gather Your Photos, Papers, and Supplies
I like to start by collecting my favorite photos for the page. Print them out in sizes that fit your layout (wallet, 4×6, or squares work well). Next, pick patterned papers, solid cardstock, and little embellishments that match your theme. If my theme is “Spring Picnic,” I’m reaching for floral prints, pastels, woodgrain, and maybe even tiny little ant stickers or diecuts.
Recommended Scrapbooking Supplies
- Patterned paper and solid cardstock
- Adhesives (tape runner, glue dots, or liquid glue)
- Scissors or a paper trimmer
- Embellishments (stickers, gems, chipboard shapes, washi tape)
- Journaling pens or markers
- Stamps and ink pads (optional)
Organize your supplies close by rather than hunting for things throughout the process; it honestly saves so much time. You might even want to create a “supplies basket” to keep everything together as you work. This can also help if you decide to craft with friends, or move your project to a different spot for a change of scenery.
Step 3:
Plan Your Page Layout
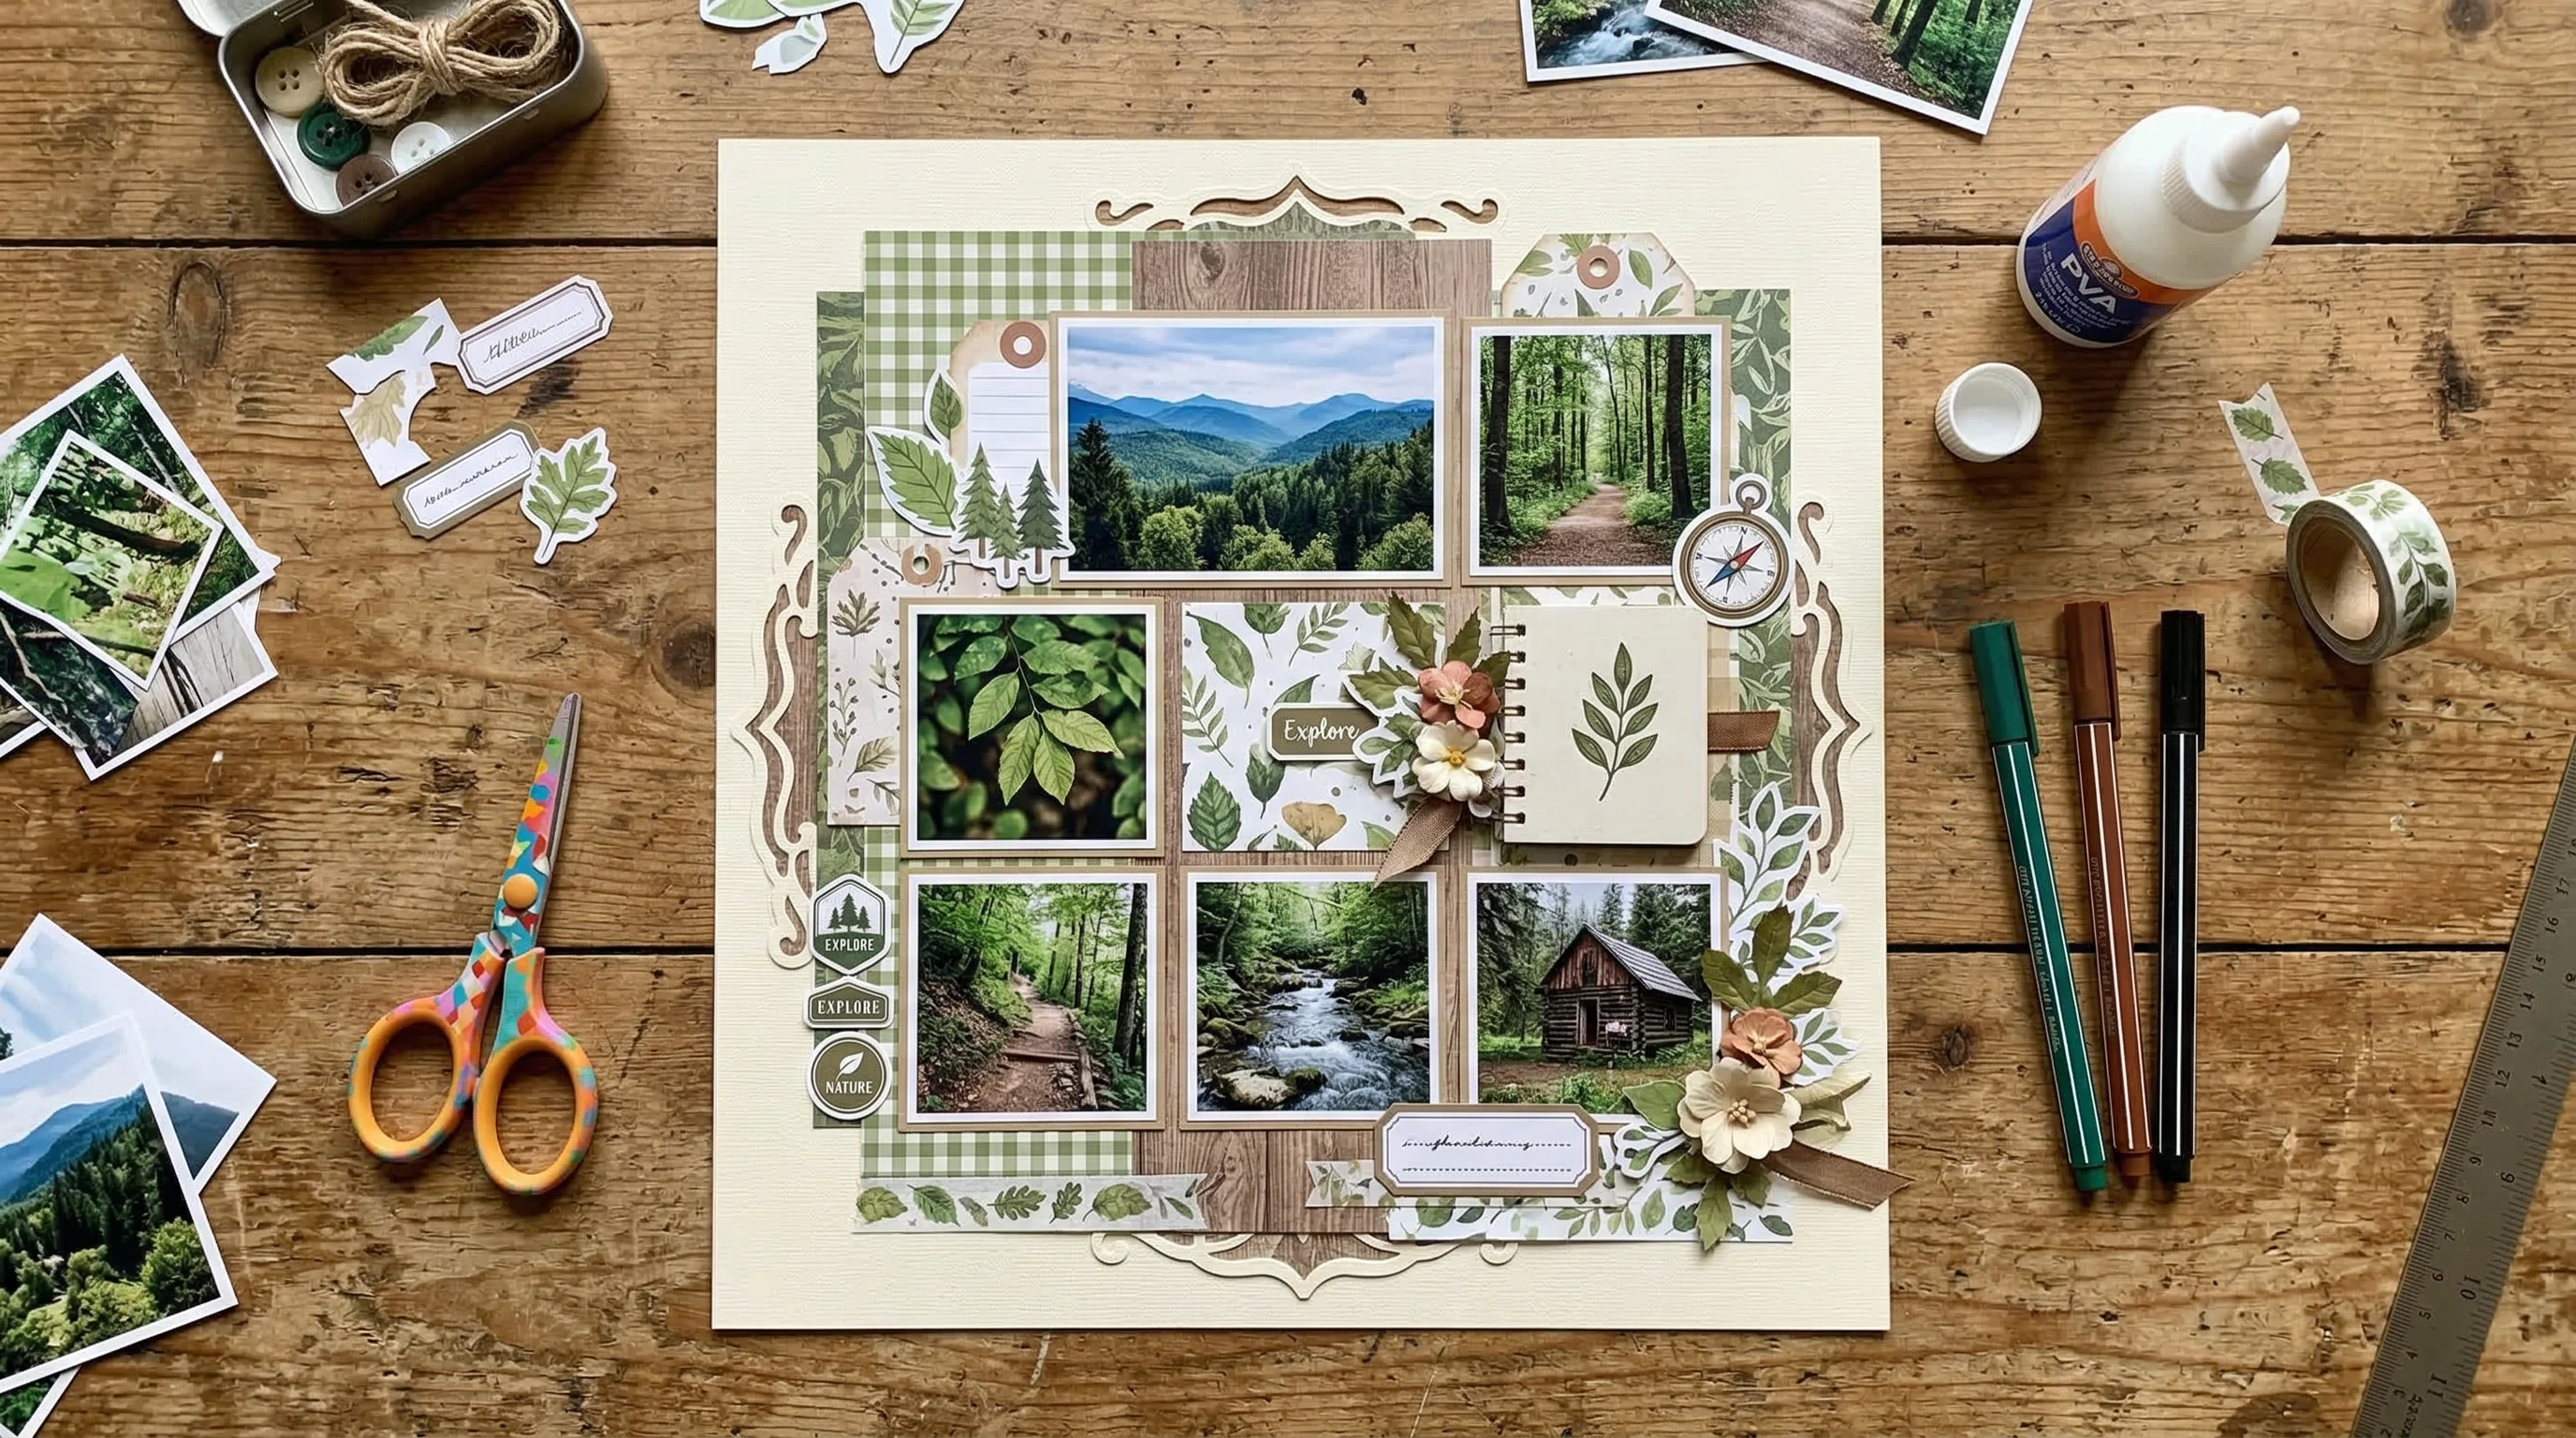
Before gluing anything down, I play around with photo arrangements on a blank 12×12 (or whichever size you like) sheet. Place your main photo front and center or in the “sweet spot” (the lower right third is popular in design).
Try these layout options to keep things interesting:
- Grid layout: Photos and papers lined up in neat rows or squares for a tidy look
- Layered clusters: Overlap papers and photos for a casual, artsy vibe
- Central focus: One large image in the middle with embellishments radiating out
- Asymmetric: Tilt photos or stack them along one side for energy and movement
Don’t forget to leave space for your journaling; you’ll want room to record the memory behind your photos! Sometimes I use sticky notes to block out where my journaling will go so I don’t accidentally fill the space.
Step 4:
Select a Color Palette and Coordinate Elements
Sticking to a simple color palette helps everything look pulled together. I usually pull my main colors from the largest photo, then pick a couple of coordinating accent shades. Tools like Coolors.co or Adobe Color are super useful if you want to test out color combos before getting started.
Mixing too many patterns or colors can get overwhelming, so pick two or three main colors and use others just as a pop here or there. Repeating certain elements like borders, stars, or tags throughout your page helps tie things together. Don’t be afraid to test a few different backgrounds before you stick things down, as sometimes even small changes can make your design feel totally new.
Step 5:
Add Embellishments to Boost Your Theme
Now’s the time to bring your theme to life. I’m a fan of layering different sizes and types of embellishments to add depth and texture. Diecuts, ephemera packs, chipboard, brads, washi tape, and stamped images can all work for this. Try tucking elements behind your photos and papers for some playful layering.
If you’re working on a modern look, keep embellishments simple and geometric. For a vintage vibe, opt for distressed edges, lace, or antique-style paper clips. Don’t be afraid to try unique textures like fabric, twine, or even pressed flowers if they fit your story. Remember, less is sometimes more; choose embellishments that fit your theme and accent your photos rather than covering them up.
Step 6:
Write Your Journaling
This step is super important for tying your story together. Writing even a few sentences can add so much meaning to your page. Some people love handwriting their journaling, while others prefer printing it out and gluing it on for a clean look.
Ideas for Journaling:
- Describe who’s in the photos and what’s happening.
- Add a funny memory or inside joke from the day.
- Include the date, place, and why the moment mattered to you.
- Write a quote, snippet of song lyrics, or a few words that capture the feeling.
I often jot a quick draft before committing to pen and paper so I can make sure I say what matters. Your journaling doesn’t have to be long or formal. Even a simple list of details or a couple of key words can make a big difference for future you flipping through the album.
Step 7:
Assemble and Secure Everything
Once you’re happy with your photo and paper placement, start gluing everything down. Adhere your background papers first, then layer photos and embellishments. Foam adhesive squares are pretty handy for popping up certain elements if you want more dimension.
Check that elements aren’t crowding the edges; leaving a little margin helps keep things neat. As you stick pieces down, step back every so often to make sure the page still feels balanced. It’s helpful to see your project from a distance or even snap a quick photo to spot if anything is off-kilter. If you feel something is missing, sometimes a small accent like a button, enamel dot, or handwritten date finishes things off perfectly.
Step 8:
Review, Make Finishing Touches, and Protect Your Page
This is your chance to add small details like border doodles, splatters of paint, or a final sticker here and there. Once you’re satisfied, slip your finished page into a page protector to keep it safe from dust and fingerprints. If using mixed media, just make sure everything is totally dry first. You could even jot a note on the back if you want to share behind-the-scenes details or a secret message for the future.
Tricks for Keeping Your Scrapbook Pages Fresh and Fun
- Try sketching quick layout thumbnails before starting on your main page for new design ideas.
- Use themed cut files from Cricut or Silhouette machines for custom elements.
- Recycle packaging from craft supplies as decorative elements; chipboard and acetate shapes work really well!
- Mash up different themes, like adding a bit of a travel theme to a birthday page if the party was far from home.
- Try stamping your own backgrounds or using watercolor washes to create oneofakind paper effects.
- Swap supplies with friends for new-to-you embellishments and ideas.
Common Scrapbooking Questions
What if my photos clash with my theme colors?
Mat photos with neutral cardstock or convert them to black and white. It makes it much easier to work with bold backgrounds and colorful accents without worrying about competing colors.
Can I scrapbook without a lot of supplies?
Absolutely, some of my favorite pages are super simple, using just a pen, a couple of patterned papers, and found items like receipts, postcards, or leaves.
How do I handle mistakes?
If something’s stuck down crooked, cover it with an embellishment or add a label for extra detail. Scrapbooking is pretty forgiving, so most “mistakes” just turn into creative moments. Sometimes a tiny stamp or handdrawn doodle hides imperfections and personalizes your page even more.
Your Action Plan
- Pick your theme and gather a few photos.
- Choose coordinating papers and embellishments that fit your story.
- Play with layout ideas until you find one that feels right for your theme.
- Add journaling to give your page personality and context.
- Finish up with fun details and pop your page into a scrapbook album.
So now you know how to create a themed scrapbook page one step at a time.
What theme are you excited to try on your next scrapbook page? Share your ideas, or ask questions if you’re stuck.
Happy crafting!
Can’t wait to get started in this new hobby! Simple and straightforward layout on how to get started and what I will need. Not as intimidating as I thought it would be and seems like it will be a new, engaging and neverending hobby. Could even turn it into a side hustle, seems like an overlooked but highly useful and up-and-coming skill that may be lost by some in the digital age. I will always enjoying having a physical item, especially one which could be filled with so many great memories or ideas.
I recently discovered scrapbooking as a new hobby, and this post was really inspiring for me. I appreciate how you broke down the process step by step; it really makes creating a themed page seem much less daunting. Your tips on choosing a color palette and leaving room for journaling really resonated with me, as I often get caught up in using too many embellishments and forget to include the story behind the photos.
I’m eager to try making a scrapbook page about my first family trip. Do you think it’s better to maintain a consistent style throughout the entire scrapbook, or is it okay to mix different themes and design styles from page to page?
Hi there Leica,
It is totally up to you and what you prefer. I prefer each layout to be totally different in style and I color according to what the main colors are on the photos. But that is me. You may prefer to have a more uniform look throughout your book.
Michel, this was such a beautifully crafted guide, it doesn’t just teach scrapbooking, it inspires it. I love how you made the idea of a themed page feel both creative and achievable. You’ve got that rare ability to turn a simple concept into something meaningful and artistic. Anyone reading this can tell you didn’t just write a tutorial… You shared a passion. Keep creating. This is the kind of content people remember.