If you are wondering how to make a mini booklet, read on.
I use mini booklets a lot for my scrapbooking projects. The main reason that I learnt how to make a mini booklet was that I often have many photos of one event, and needed or wanted a way to put them all into one layout.
Also, if you like to put journaling into your scrapbook layouts this can also take up a lot of space and a mini booklet could be the answer.
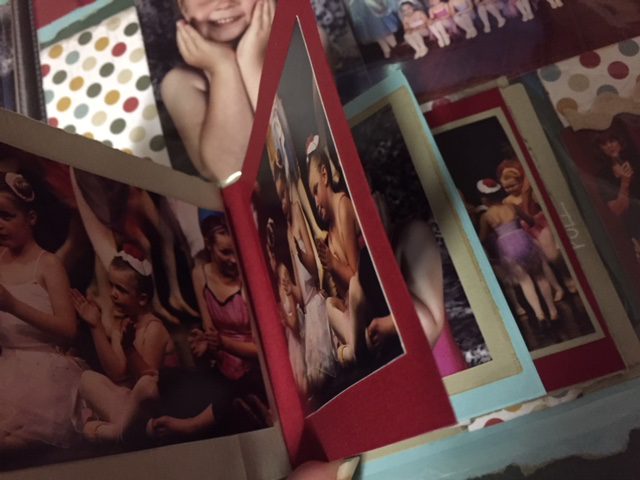
Mini booklets help because you can free up space by creating one on the layout that you can add additional photographs and journalling into like I did above with my excess photographs.
In this way, you can add even more interest to your layout, as you have more room for photo’s, journaling and embellishments.
Another reason that you should know how to make a mini booklet is so that you can always have a small transportable booklet on hand to take with you for on the spot journaling or notes. You can use up scrap paper to make your own on the go notebooks without having to buy any.
This post contains affiliate links, which means that the owner of this website will get commissions on qualifying purchases without incurring any additional charges to the buyer.
How To Make A Mini Booklet
It is super simple to make a mini booklet, which can be handwritten on or printed in with a computer. I use brads as an easy way to bind the pages. If you want a neater finish you can conceal them inside the cover. For booklets with many pages, you may need to use larger brads.
Here goes:
- Start off by cutting two 13 x 8cm rectangular pieces of textured paper or card stock for the cover. Use a steel ruler and a bone folder on a cutting mat and score a line on the back of one piece 1 cm from one long edge.
- Fold the paper to the back along the scored line. Repeat this process on the other rectangular piece.
- On one piece open the folded strip. Measure and mark a point on the folded strip 1.5cm from the top edge, another point in the centre and the last point 1,5 cm from the bottom edge. Centre these across the width of the strip and make sure to mark on the back of the strip.
- Cut six, or however many pages you want, in 13 x 7cm pieces of thinner paper for the inner part of your booklet.
- Open out the fold on the unmarked piece of textured paper or cardstock and lay it face up on a foam mat with the fold line to the right. Stack the sheets of thinner paper with the edges aligned. Lay the left-hand edges on top of the textured paper or cardstock aligned with the fold line.
- Place the remaining piece of textured paper or cardstock facedown on top of the stack aligning the edges with the bottom piece. It should overlap the left-hand edges of the sheets by 1cm.
- Hold the stack firmly to keep them correctly aligned. Work down from the top edge and pierce a hole through all of the layers using a thick darning needle or a small eyelet punch at the marked points on the paper. Then leave the needle in the lowest hole to keep all the pages in position.
- Push a brad through each pierced hole and turn the booklet over. Each brads’ open arms should lie parallel to the edge of the paper.
- Fold the textured page or cardstock covers over the pages along the fold lines. Using a craft knife and steel ruler on a cutting mat, trim the leading edges of the book in order to align the pages and covers perfectly. You also won’t be able to see the brads on either side of the booklet once the covers are folded over.
If you want to write in the booklet, then use plain paper and write in it when the booklet is complete. If you want to print your journaling, then it is best to print out the paper first and fit the text onto your six (or more pages) and then bind it with brads.
Now you know how to make a mini booklet. Its quick and easy, and remember that the measurements above are only a guideline. You can make the booklet any size you like to meet your individual needs.
If you want to go the easy route, here is a mini booklet kit you can purchase online. It has everything you need to make a gorgeous mini booklet that you can use standalone or on one of your scrapbooking layouts.
Here are some instructions on how to make an entire photo album.