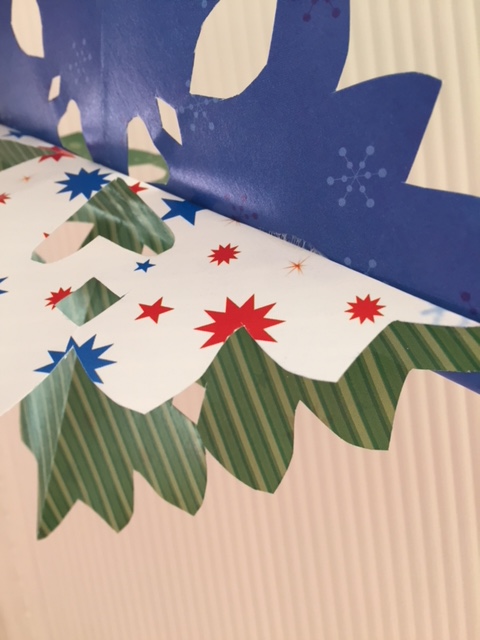
Here are some easy paper snowflakes instructions that are a fun holiday activity for the whole family, especially close to Christmas.
These easy paper snowflakes can adorn your windows, fireplaces, cards, trees, and even be tied to your gifts.
This post does contain affiliate links.
How To Make Easy Paper Snowflakes
You will need:
- White or Patterned Paper that is cut into a square
- Scissors
- Bone folder
- Cutting Mat
Although I prefer to make paper snowflakes with white paper or card stock, I decided to use up some reversible Christmas paper that I had leftover from last year.
I cut them quite big (20cm x 20cm) but smaller snowflakes are also very pretty.
Fold the paper square in half diagonally.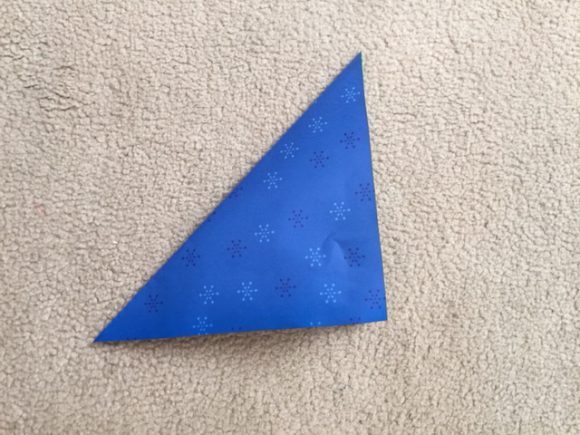
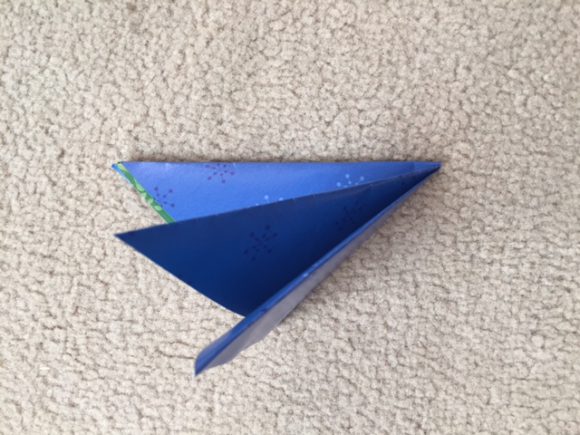
Now fold the paper in half again to make smaller triangles.
Make sure you align the edges perfectly.
Either use a template like the one below or cut your own design into the paper. If you want your snowflakes to look the same, make a template. I chose to cut two different designs and join them together, as my paper was different.
Make two the same or cut differently as I have.
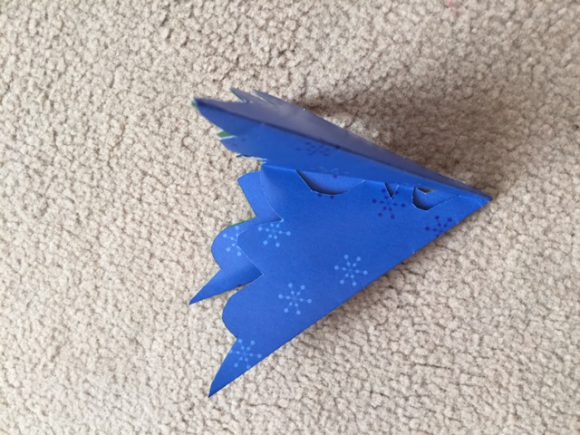
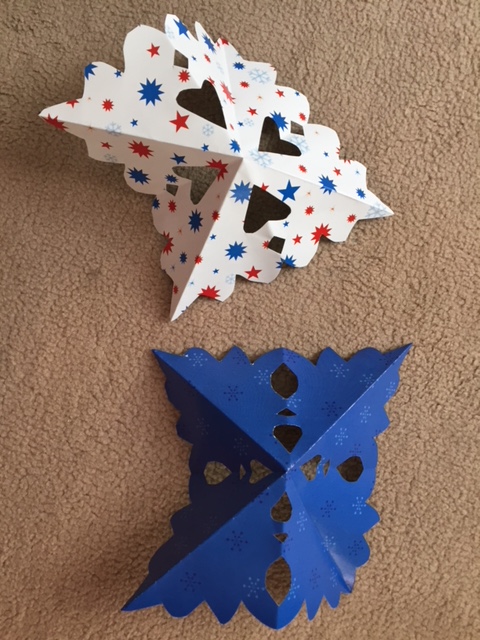
Unfold the snowflakes and add a thin line of clear glue down the centerfold.
Adhere together and open out the sides to form a dimensional snowflake.
These easy paper snowflakes look stunning in plain white paper decorated with silver glitter.
Try making your snowflakes with this sparkle cardstock, although you will need to use a bone folder, like the one below on thicker paper.
To purchase your paper online, simply click on the picture to the right.

Try cutting smaller patterns and more shapes for a more intricate effect.
You can really go to town making these easy paper snowflakes.
A friend of mine decorated her entire Christmas tree with different-sized snowflakes that she and her children made together.
For some more crafty Christmas gift ideas, click here.
