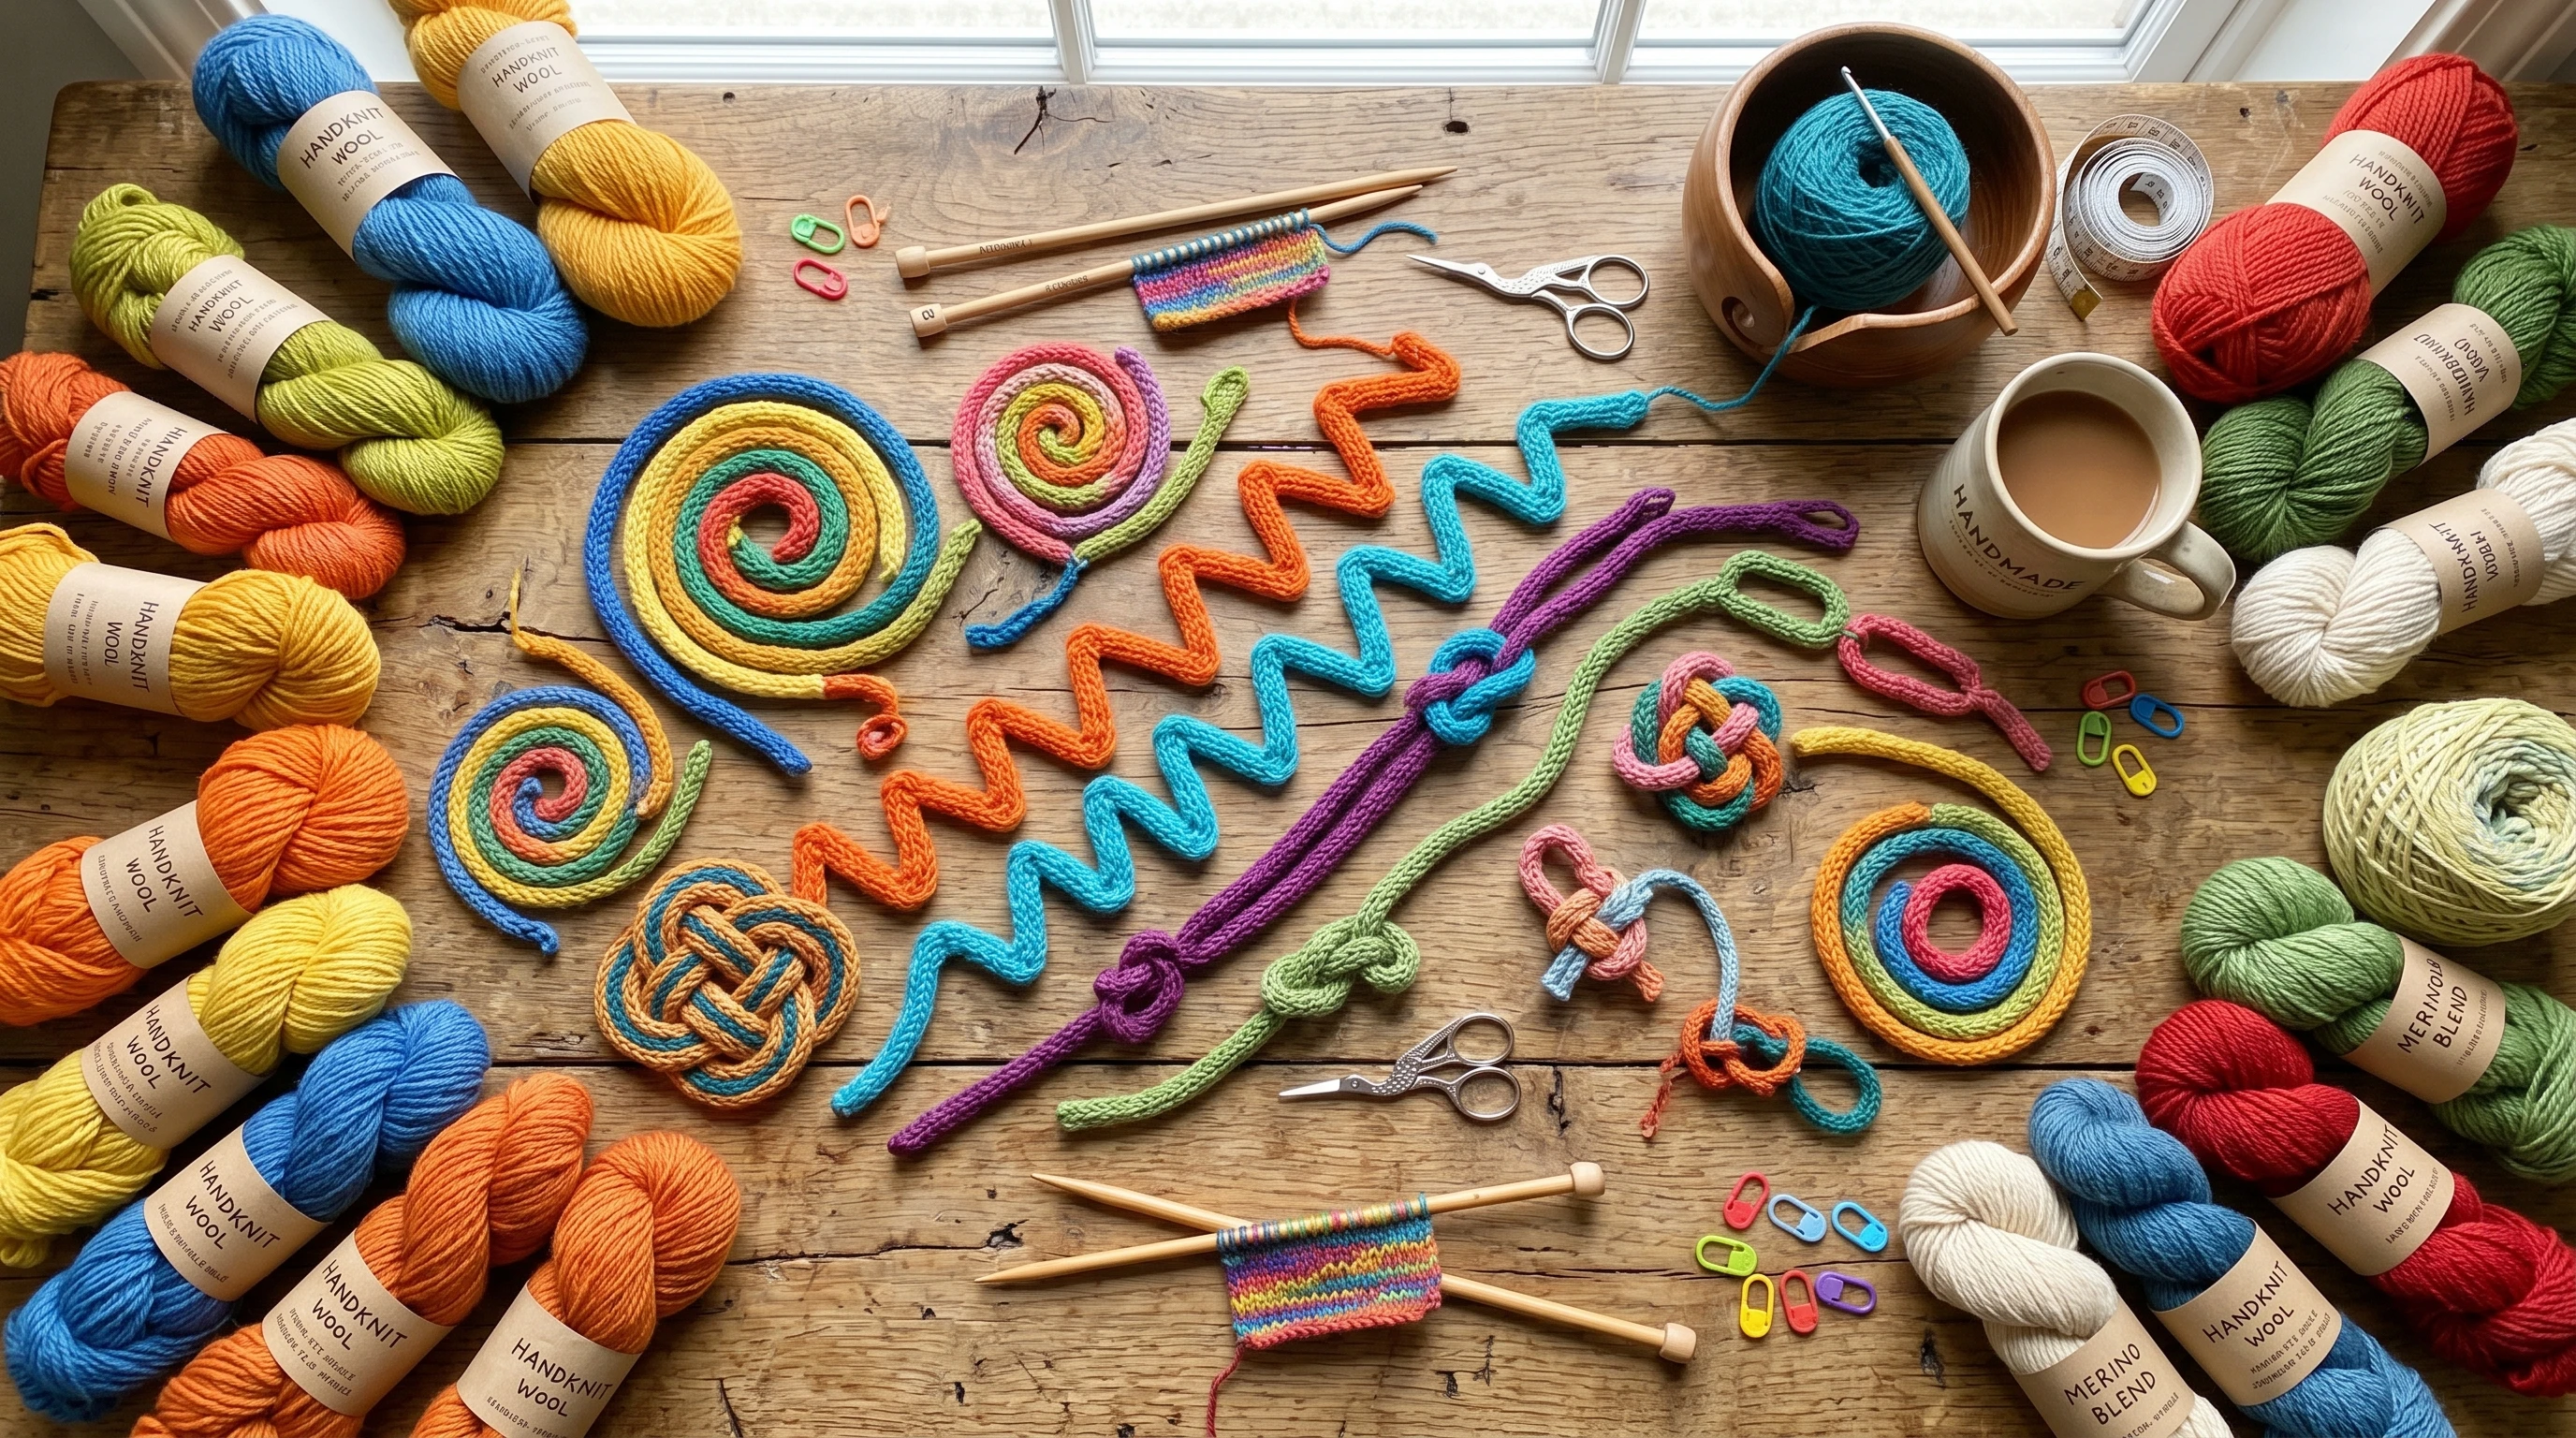
Let’s look at some knitted cord DIY projects, because if you’ve ever made a long, sturdy strand with knitting needles or a spool, you already know how satisfying a knitted cord can be. These cozy ropes of yarn are super handy for crafting projects, quick gifts, or upgrading your accessories. Once you figure out how versatile knitted cord really is, you’ll start looking at odds and ends of yarn in a whole new way.
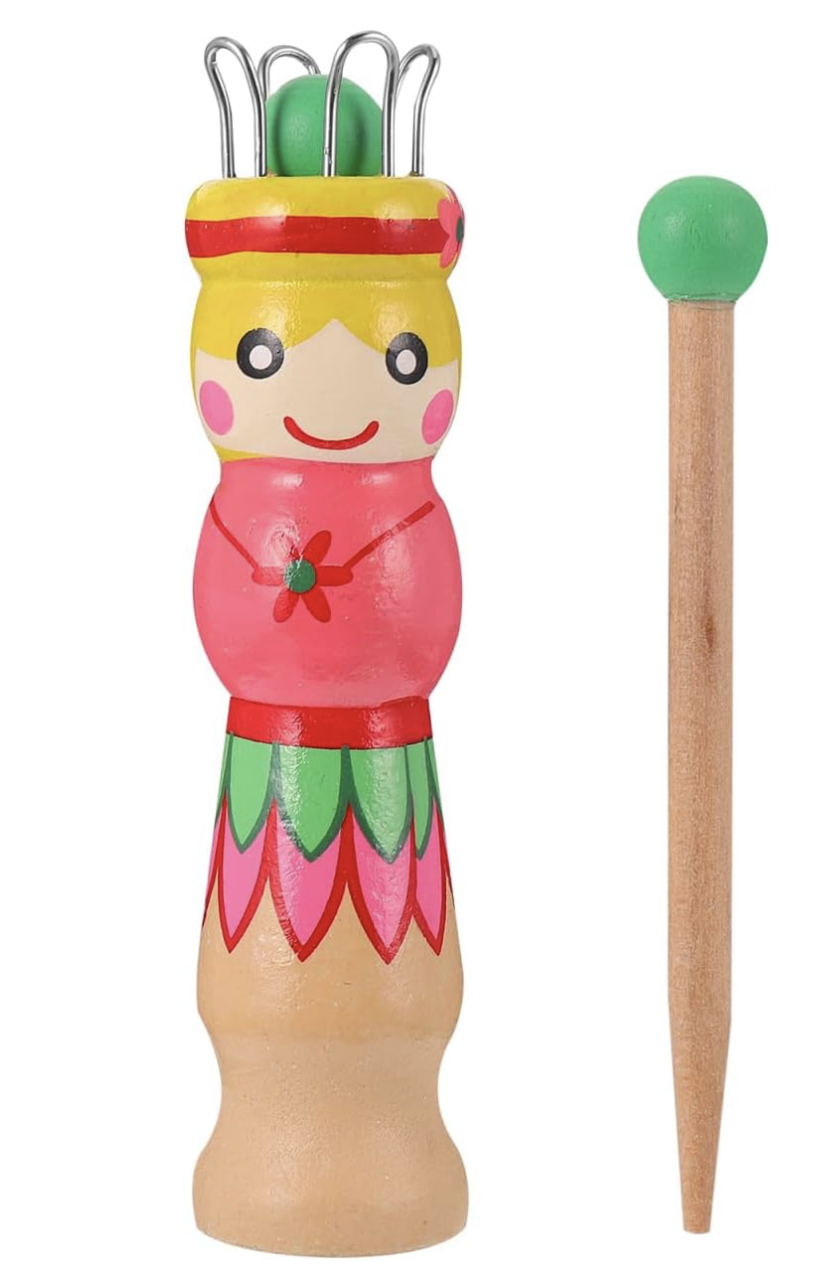
If you don’t have the patience to make knitted cord by hand, then I urge you to try this cord knitting machine as it churns out meters of cord in minutes.
I love knitting cords when I’ve got a bit of leftover yarn or when I need something quick that still feels creative. You can make them as thin or chunky as you want, change up the colors, and whip up a project in under an hour (sometimes in just a few minutes!). There’s a world of things you can do with these simple cords whether you prefer using a knitting spool, icord technique, or knitting needles.
If you’re looking for ideas to get started with your own yarn cords, stick around. I’m sharing my favorite uses for knitted cord and a step-by-step pattern for a classic, practical project to try yourself.
This article contains affiliate links, which means that the owner of this website will receive commission on qualifying purchases, at no extra cost to the buyer.
Knitted Cord DIY Projects
What You Can Make with Knitted Cord:
Knitted cords aren’t just for drawstrings or bag handles, although they’re great for both. I’ve seen (and made) some surprisingly creative projects using nothing but sturdy yarn rope. Here are a few you might like to try:
- Friendship Bracelets and Headbands: Make them in school colors or with variegated yarn for a fun look.
- Bag Handles and Straps: Perfect if you want a soft but sturdy grip for totes, knitted purses, or pouches.
- Plant Hangers: Combine several cords and a few simple knots for a boho home décor upgrade.
- Coasters and Trivets: Wind the cord in a spiral and sew it flat for an easy table protector.
- Knitted Cord Rugs: This takes a bit more time, but it’s a fun way to use up lots of scraps.
- Keychains and Lanyards: Small cords work well for custom accessories.
- Ornaments and Gift Toppers: Shape your cord into letters, words, or hearts for unique finishing touches.
- Try this pattern book for 40 more ideas.
Whether you want something quick and practical or you’re aiming for an eye-catching handmade gift, knitted cord has you covered. I like working on cord projects when I need something simple to knit without thinking too much but still want a cute finished product.
Have you ever tried using knitted cord for wall hangings or to make decorative jar wraps? These are fun ideas that blend simple techniques with creative flair, giving your living space some extra pop. Even larger projects like floor poufs or soft pet toys can start with these trusty cords. The possibilities keep growing as you experiment with new materials, colors, and cord lengths.
Making Your Knitted Cord: Tools and Basic Techniques
There’s more than one way to create a sturdy yarn cord. Each method gives you a slightly different look, but most of them are easy enough for beginners or fun if you need a relaxing project.
Different Ways to Make Knitted Cord:
- I-Cord with Double Pointed Needles: My favorite way, especially for classic round, tidy cords. Usually you use two doublepointed needles and only a few stitches per row.
- Knitting Spool (French Knitter): Also called a knitting Nancy, this little tool has pegs on top to help you create tubular cords quickly. Great for kids or if you like to work fast.
- Finger Knitting: No tools needed except your hands! The texture is a bit different (flatter, looser), but it’s great for chunky yarn or play projects.
If you’re not sure what to pick, try the icord method first. You don’t need anything special besides doublepointed needles and some yarn. Plus, you can use any scrap yarn—acrylic, wool, cotton, or blends all work fine, just with slightly different finishes and stretchiness.
Give yourself room to play with each method. A knitting spool makes repetitive projects easier, while finger knitting is perfect when you want to work with kids or create a playful chunky look. In every case, a bit of practice will help you get the hang of even tension and a tidy, professional finish.
Knitted Cord DIY Project To Try Out
Coiled Knitted Cord Coaster
One of my go-to projects for showing off a colorful or textured cord is a spiral coaster. It’s fast, pretty, and surprisingly useful. I always keep a few near my desk to protect the wood from coffee or tea mugs. You won’t need a knitting Nancy for this one.

What You’ll Need
- Yarn of your choice (worsted or bulky yarn works best for something sturdy)
- Doublepointed needles for icord (usually size US 5-8 for worsted yarn)
- Yarn needle or tapestry needle
- Scissors
- A little bit of sewing thread or matching yarn
Step-by-Step: Making Your Knitted I-Cord
- Cast On: Use 3 stitches for a medium cord. Cast on 3 stitches onto one doublepointed needle.
- Knit the First Row: Knit across all three stitches.
- Slide Stitches: Without turning the work, slide your stitches to the other end of the needle. The working yarn will be coming from the last stitch.
- Repeat: Pull the working yarn tight behind the stitches and knit the next row from the right side again. You’ll keep sliding the stitches this way, always working from the right end of the needle and pulling the yarn around the back.
- Keep Going: Continue until your cord measures about 20-24 inches, or longer for a larger coaster.
- Finish Off: Cut your yarn, leaving a 6-inch tail. Thread your tapestry needle through the remaining live stitches, pull tight, and weave in the end a bit.
Creating the Spiral Coaster
- Shape the Cord: Start at one end and coil the cord into a tight spiral (like a cinnamon bun!). You can secure it with a pin or your fingers as you go.
- Sew It Flat: Using your yarn needle and a strand of yarn or thread, stitch back and forth through the layers as you coil, connecting them securely so the spiral holds together. Add extra stitches for sturdiness.
- Finish: Weave in your last thread ends and trim any fuzzy bits. Your coaster is ready to use.
I like making a set of these and bundling them together for a sweet, personal housewarming gift. You can experiment with stripes, variegated yarn, or a blend of different colored cords sewn together for a patchwork look.
If you’re feeling adventurous, try creating matching placemats or a hot pad using the same coiled cord technique. Items made this way are both practical and creative, serving up useful pieces for your kitchen or dining room that catch the eye and hold up over time.
Tips for Personalizing Knitted Cord Projects
- Try Different Yarn Types: Cotton stays crisp and flat, while wool is cushy and squishy. Acrylic is washable and comes in bright colors.
- Make It Multicolored: Switch yarn colors every few rows as you knit the cord, or use a selfstriping ball for cool gradients.
- Add Beads or Charms: String on beads as you knit, especially if you want bracelets or decorative cords.
- Vary the Cord Thickness: For delicate jewelry, go smaller on the needles and yarn; for rugs or handles, use chunky yarn and bigger needles.
- Blend Textures: Mix in ribbons, metallic threads, or even strips of fabric alongside your yarn to create cords with unique flair and interesting textures.
- Shape and Stitch: Use embroidered stitches along your cord for decorative edges or try shaping cords into letters or shapes to personalize a gift or keepsake.
The fun thing with these cords is how easy they are to adjust for size, texture, or color. Little details like a zigzag stitch with embroidery floss or a few handmade tassels can really make your project pop. Remember, every small detail you add makes your piece feel especially your own. Let your creativity lead the way and don’t be afraid to switch things up as you go.
Common Questions and Troubleshooting
Why is my icord lumpy or uneven?
This usually happens if your tension is loose or if you’re not pulling the yarn tight enough when you slide the stitches. Try holding your working yarn snug as you move from one end to the other, and keep practicing smooth, steady motions.
Can I wash my finished cord projects?
Most yarn cords can be washed, but it depends on your yarn. Wool needs a gentle hand wash, cotton and acrylic can usually handle the washing machine. Always check the yarn label just in case. To make your cords last longer, shape them while damp and let them air dry flat.
What can I do with short bits of cord?
Short cords are great for keychains, zipper pulls, and even tying up gift tags for extra flair. You can also join several short cords together with knots or sewing for patchworkstyle pieces. Additionally, short pieces work well to tie up plants or organize charging cables, giving a crafty touch to everyday problems.
Wrapping Up: Making Knitted Cord Projects Your Own
Knitted cord projects are an awesome blend of creativity and practicality. Whether you’re crafting coasters, jewelry, plant holders, or bringing new life to leftover yarn, these little projects are simple to start, relaxing to make, and always look cute. Got some spare yarn? Pick a project and start knotting, braiding, or coiling your next handmade creation. If you have favorite uses for knitted cord or cool projects to recommend, feel free to share them below—I’m always hunting for new ideas!
I’m looking for some creative ideas for knitted items to use as souvenirs and giveaways at our upcoming family reunion, and your post gave me a lot of inspiration! Coasters, trivets, and even cord rugs sound both practical and memorable; something our relatives could actually use and appreciate. I love how versatile knitted cords can be, especially with the option to play around with colors and textures.
Do you think coiled cord projects like coasters and trivets hold up well with frequent use, or would you recommend something sturdier, like a small rug for long-lasting keepsakes?
Hi Leicia,
I have had some coiled projects for years. I guess it just boils down to how you look after them. I also find sewing them together rather than glueing tends to hold better over time.
I never realized how many things you can actually make with knitted cord until reading this. The coiled coaster idea is smart because it looks simple but still handmade and useful. I also agree with using sewing instead of glue for the spiral projects. Anything glued together usually starts falling apart after some heat or regular use.
I always end up with random scraps from older projects and most of them just sit in a box. Turning them into cords for plant hangers, keychains, or even rug pieces sounds like a good way to finally use them up instead of throwing them away. The multicolor cord idea would probably look great for family gifts or holiday decorations too.
Knitting is something many people (mostly women) enjoy learning and creating cool pieces. I like the site name “Knitting for Profit” a lot. The book you are promoting sounds like a great item for potential Knitters who want to sell their creations. I took a quick read of your post on knitting machines and found it interesting. Your description of each recommended machine is helpful and informative, especially for beginners who need some guidance when choosing a machine. I think you have a nice blog site there. Best wishes. – Shirley
Thank you for your kind words Shirley, and yes I hope to encourage more people to try the art of knitting through this site.