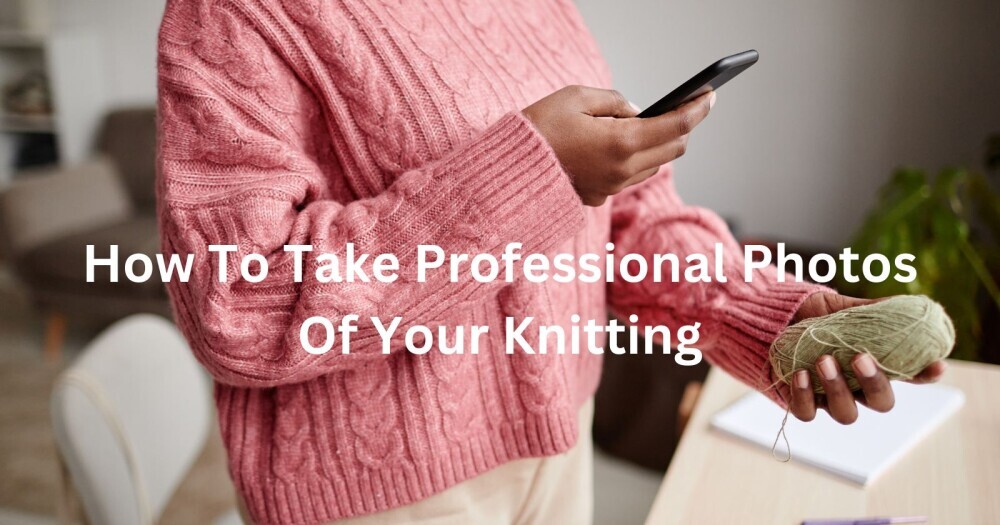
If you want to know how to take professional photos of your products it isn’t as difficult as it seems, especially with the technology that we have available today.
When it comes to photography, the tool you choose can make a big difference, but it doesn’t mean you need to break the bank. Smartphone cameras today are pretty amazing and can totally hold their own against high-end professional gear.
This post may contain affiliate links, which means that the owner of this website may get a small commission on qualifying purchases.
 How To Take Professional Photos Of Your Products
If you’re using a smartphone, learn to tweak the camera settings to get the most out of it. For those ready to splurge a little, entry-level DSLR or mirrorless cameras offer that extra notch in quality, especially when you’re focusing on detailed textures like that lovely knit pattern.
Lighting is everything in photography. Your best friend? Natural light. A soft, overcast day is ideal as it diffuses light evenly, avoiding harsh shadows that can obscure details.
But let’s face it, perfect weather isn’t always on the menu. That’s where affordable LED lighting kits come in handy. These can help replicate natural daylight without the bulk of traditional studio setups.
Now, folks, let’s get into something often overlooked—white balance. This magical setting ensures your reds don’t look orange and that lovely cream yarn doesn’t turn into a weird shade of yellow. Spend some time playing with this setting, and you’ll notice your photos look more true-to-life, letting those stunning colors pop just the way they should.
Setting the Scene With Backgrounds and Props
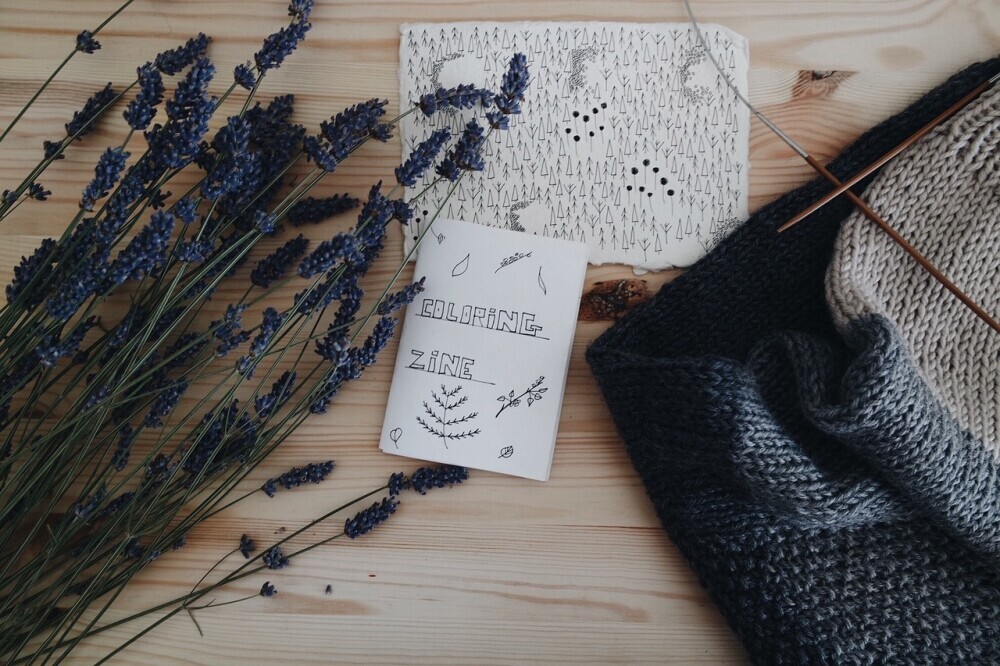
Think of your background as the stage for your knitted masterpiece. It should make your product the star of the show, without stealing the spotlight. Opt for something simple, like a neutral-colored table or a textured wooden board, to help your item stand out. White or light grey is often a safe bet because it adds contrast without being too busy.

Props can tell a story that draws people in. Maybe a basket of colorful yarns hints at the creation process or a steaming cup of tea adds a cozy vibe. Just remember, less is more. You want enough to suggest context without overshadowing your hand-knit wonders.
Keep an eye on the overall scene. Clutter doesn’t just distract—it’s also a quick way to make your photo look messy. An uncluttered scene keeps the focus where it belongs. When arranging the scene, use symmetry or asymmetry to guide your viewer’s eye, but ensure your knitted item remains the focus point.
Choose props wisely to complement the woven story without taking over. The background and props should work together, not compete, highlighting the unique features and patterns of your knitted creation. Avoid overly bright props that fight for attention with your product.
Mastering Composition With Angles and Framing
Let’s talk about keeping your shots interesting and professional. The rule of thirds is a handy trick—imagine your shot divided into a 3×3 grid, and aim to place key elements along these lines or their intersections. This technique helps balance your composition and makes it more visually appealing.
Now, consider the photo orientation. A landscape shot works well for broader scenes or when you’re displaying several items together. On the flip side, portrait orientation is your go-to when you want to focus on a single piece, especially if it’s tall, like a scarf or jacket.
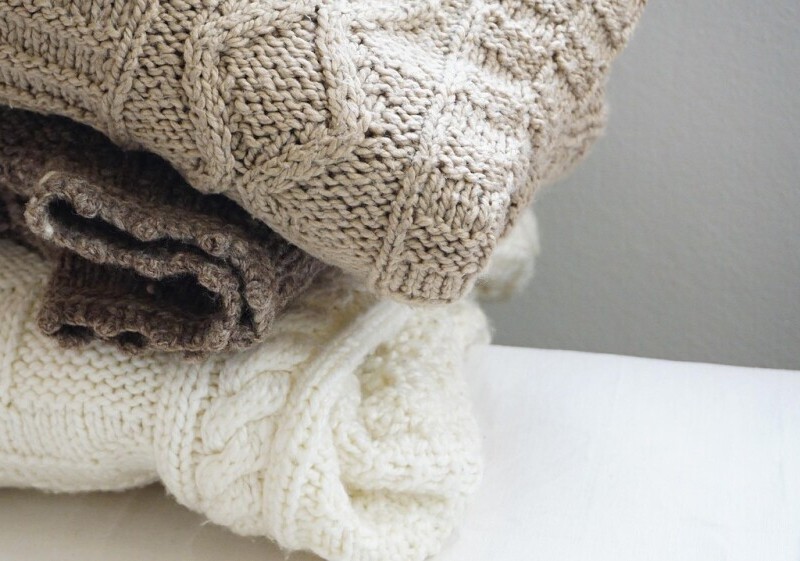
Closer shots are your secret weapon to showcase the intricate details of your knitted goodies. These close-ups bring out textures and fine patterns that text alone can’t convey. Try capturing stitches, unique color blends, and standout features up close—your customers will thank you for it.
Before settling on the final shot, take a step back and experiment with different framing ideas. Compare shots before and after applying professional framing techniques to see the difference. Zoom in, tilt the camera slightly or even shoot from a lower angle to add some drama and depth.
Editing Your Photos
Editing is where good photos become great. For those starting, choose beginner-friendly software like Adobe Lightroom or free alternatives like GIMP. These programs let you tweak your images without needing a degree in graphic design.
Color correction is your best friend here. Make sure the colors in your photos match the actual product so your buyers know what they’re getting. Tweak shadows, highlights, and contrasts to enhance the feel of your knitted masterpiece, staying true to its authentic look.
Sizing and cropping come next. Different online platforms have specific photo dimensions. Tailor your images for Instagram, your online store, or a blog to ensure they look crisp and professional everywhere they appear.
But here’s a tip—don’t go overboard. Over-editing can make yarn textures look artificial. Keep edits light to maintain the natural beauty of your knitwear while ensuring it remains true to life.
This Complete Course in Digital Photography is your go-to guide if you want to learn more about creating those magic shots.
Leveraging Photography for Online Marketing Success
High-quality photos do more than just showcase your knitting skills—they can seriously boost your online presence. Great visuals grab attention and keep people clicking, liking, and sharing, which can result in more sales and followers.
Integrating your photos into social media and blogs isn’t just about posting them and crossing your fingers. Pair images with engaging captions or stories about the inspiration behind a design, or offer styling tips to give your audience more context and connection to your work.
Having before-and-after shots is powerful. They’re a fantastic way to illustrate how professional photography can transform your product’s appeal. This kind of content has high shareability, drawing more eyeballs to your page.
Maintaining a consistent visual brand online is crucial. Use a similar editing style, background, or set of colors across your photos to create a cohesive and recognizable look. When people see your images, they should instantly recognize your knitting portfolio—all thanks to clean, professional, and beautiful photography.
So I trust that I have equipped you better now when it comes to how to take professional photos of your products.

This post provides fantastic tips for taking professional product photos, especially for knitters showcasing their handmade creations. It’s an excellent guide for both beginners and those with some photography experience. I appreciate the emphasis on using accessible tools like smartphones, which democratizes professional-looking photography for everyone. The detailed advice on lighting, white balance, and backgrounds is practical and easy to follow, ensuring your product truly shines.
I also love how the post addresses the importance of storytelling through props and composition, reminding readers to keep the focus on the product while creating an engaging scene. The mention of techniques like the rule of thirds and experimenting with angles adds a layer of professionalism that can elevate even a simple shot.
The editing section is a gem, encouraging authenticity while refining images to enhance their appeal. The tips on leveraging photos for online marketing are particularly valuable, showing how great visuals can amplify your brand presence. Overall, this is a comprehensive, inspiring guide that equips creators with the tools and confidence to showcase their work beautifully.